Chris Ibbott describes how he uses removable orthodontics and direct composite resin bonding to close diastemata and restore wear on upper anterior teeth.
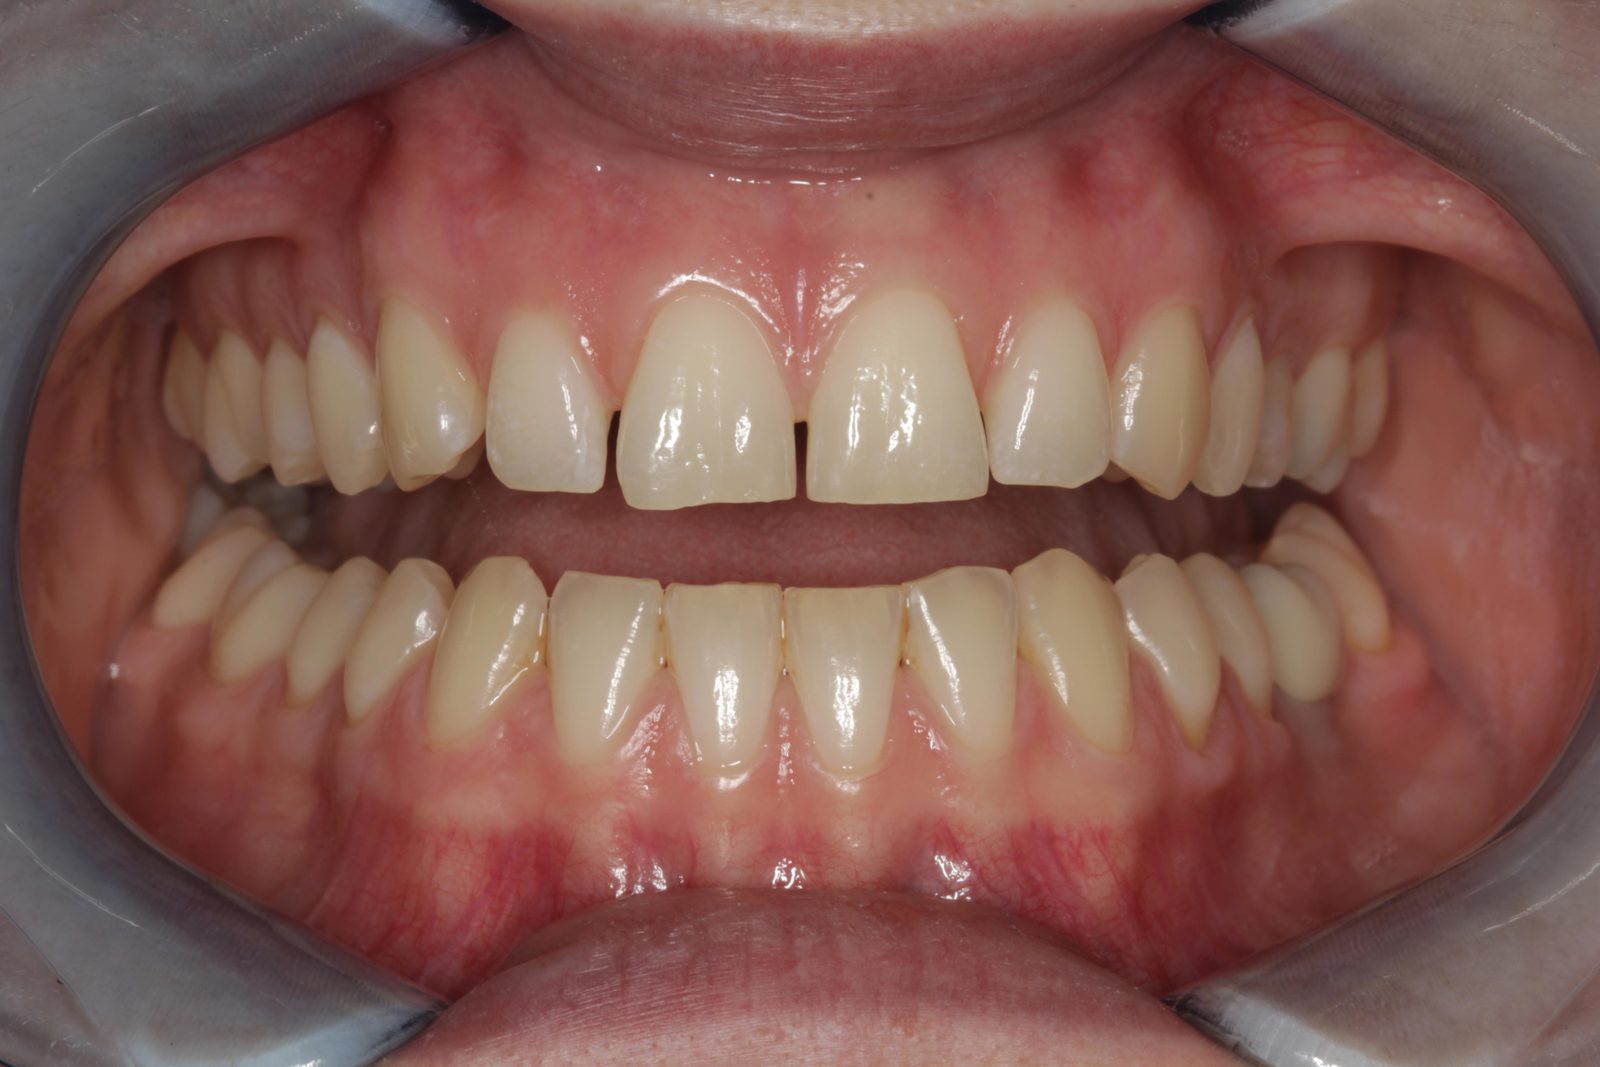
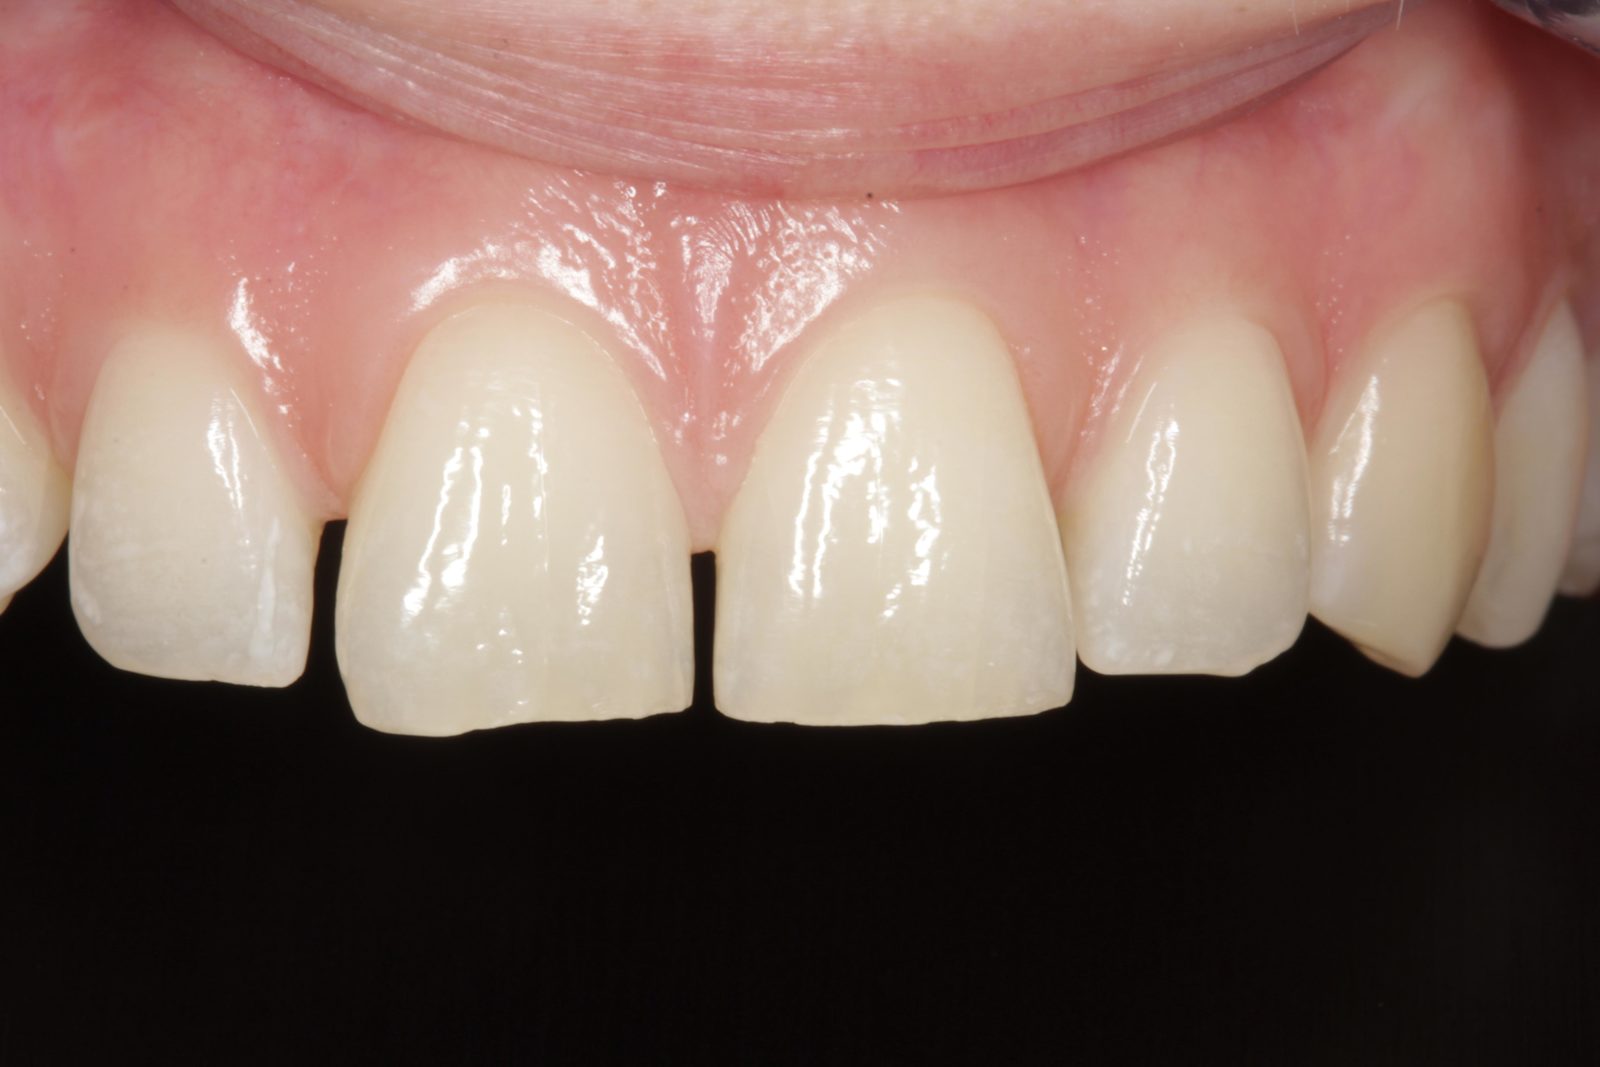
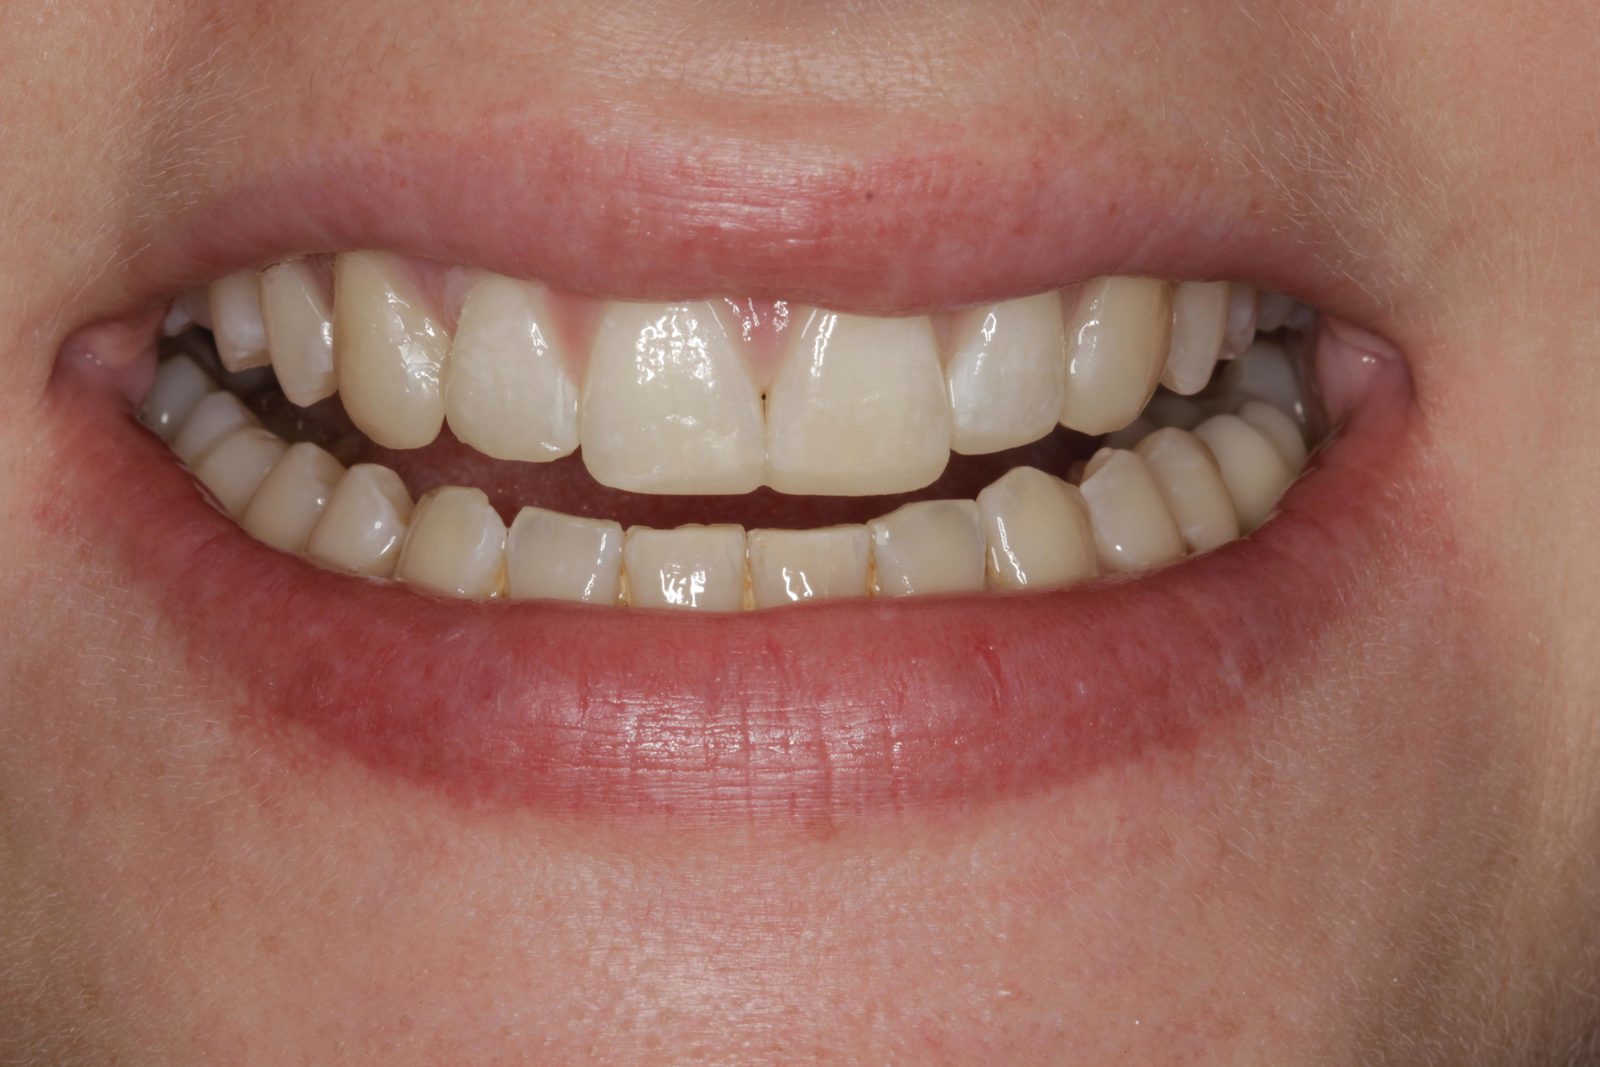
A 23-year-old female patient attended for an initial consultation with concerns about the aesthetics of her front teeth. She was not happy with the spaces between her upper anterior teeth and their worn, irregular edges (Figure 1).
Initial assessment
A full examination was carried out and photographs and radiographs were taken. The patient had a class I malocclusion on a class I skeletal base with upper anterior spacing and mild lower anterior crowding. The molar and canine relationships were class I on both sides. There was a normal overbite of 3mm on the UR1 and a slightly reduced overjet of 2.5mm on the UL1.
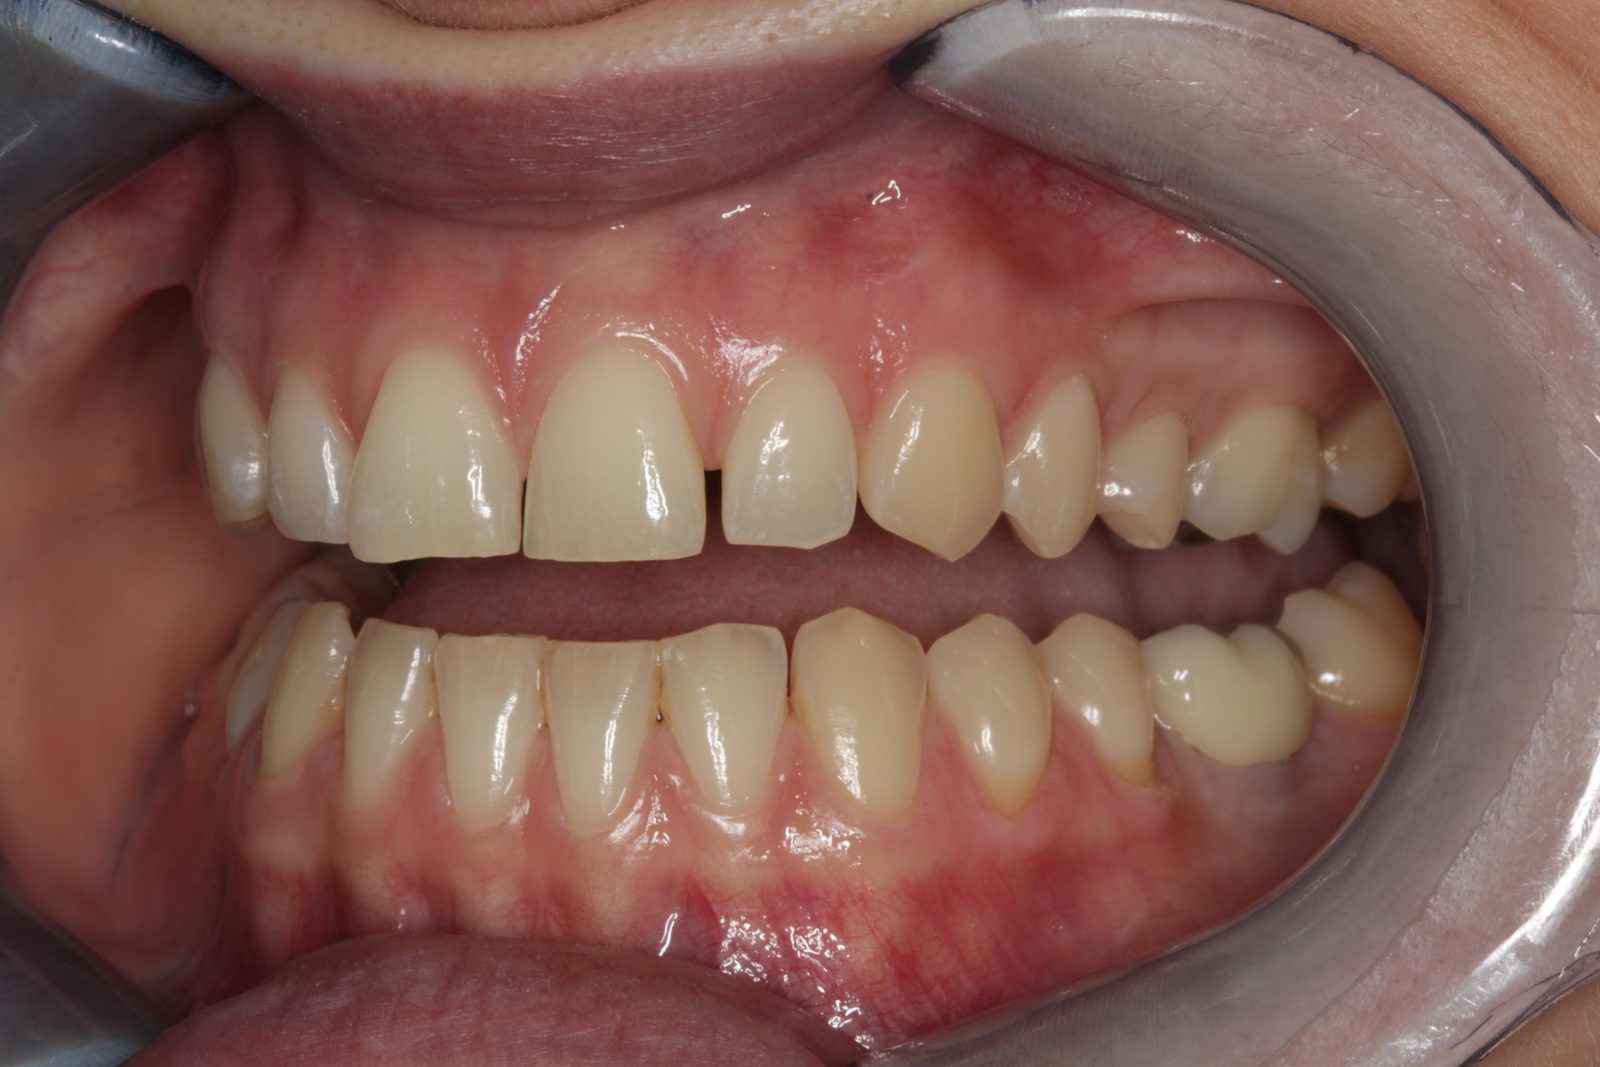
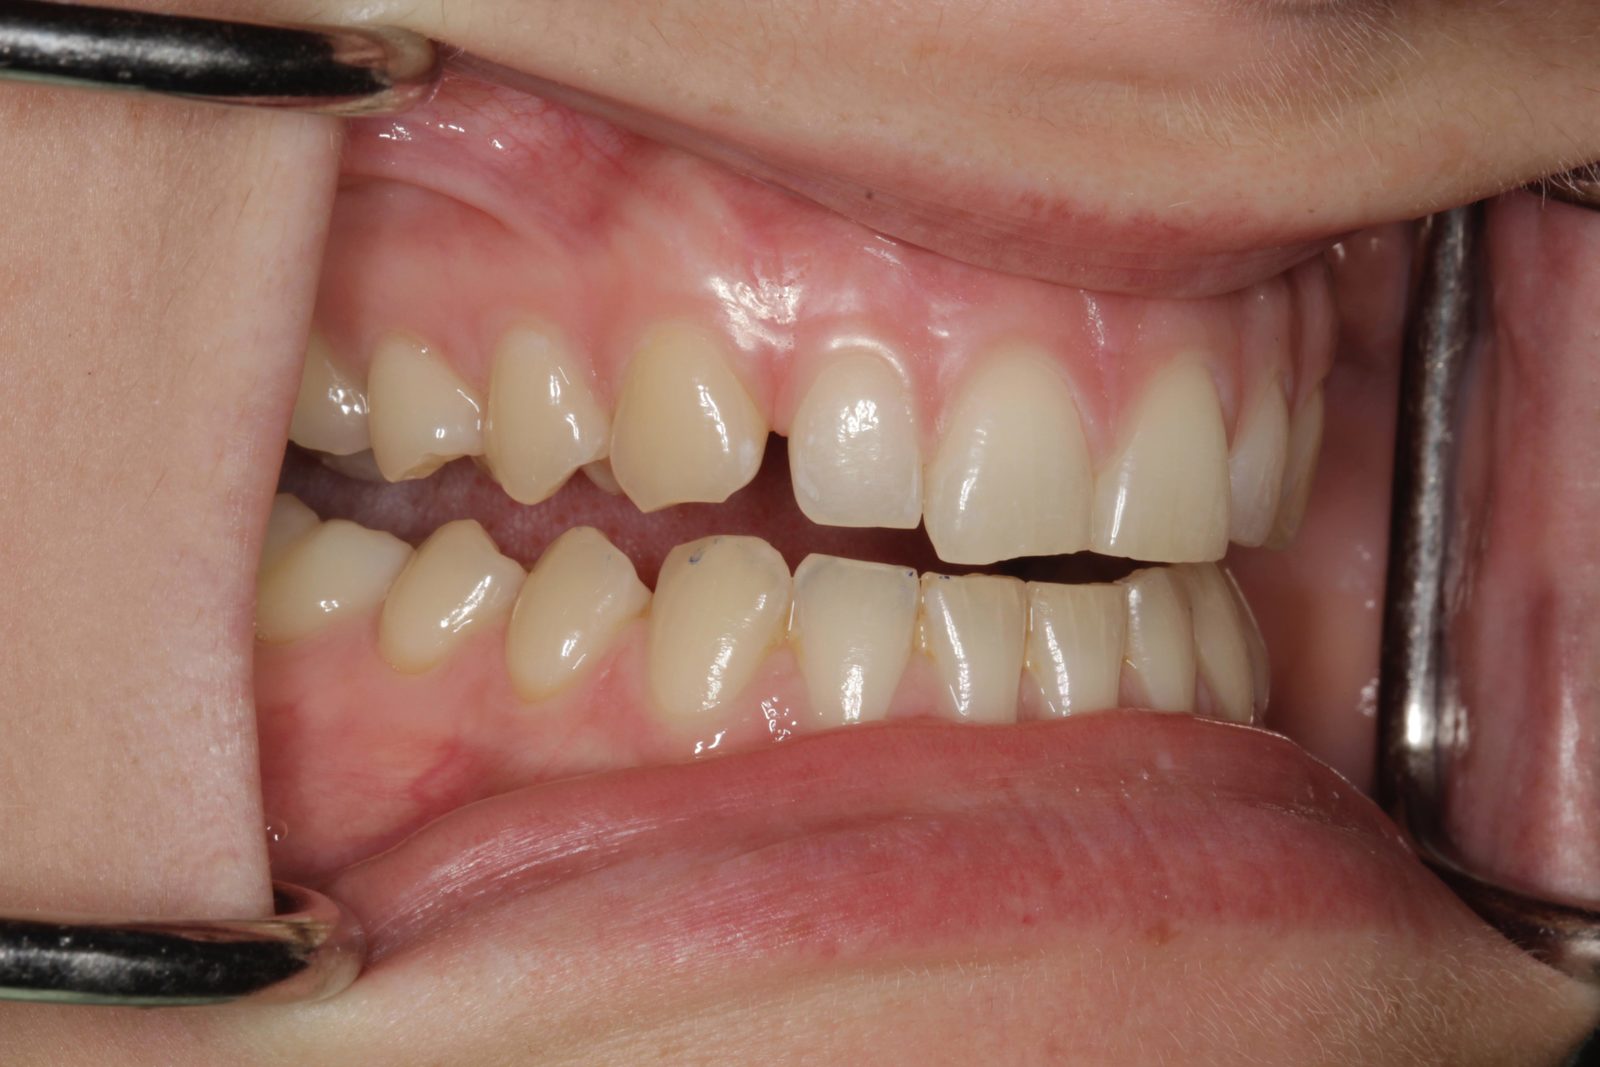
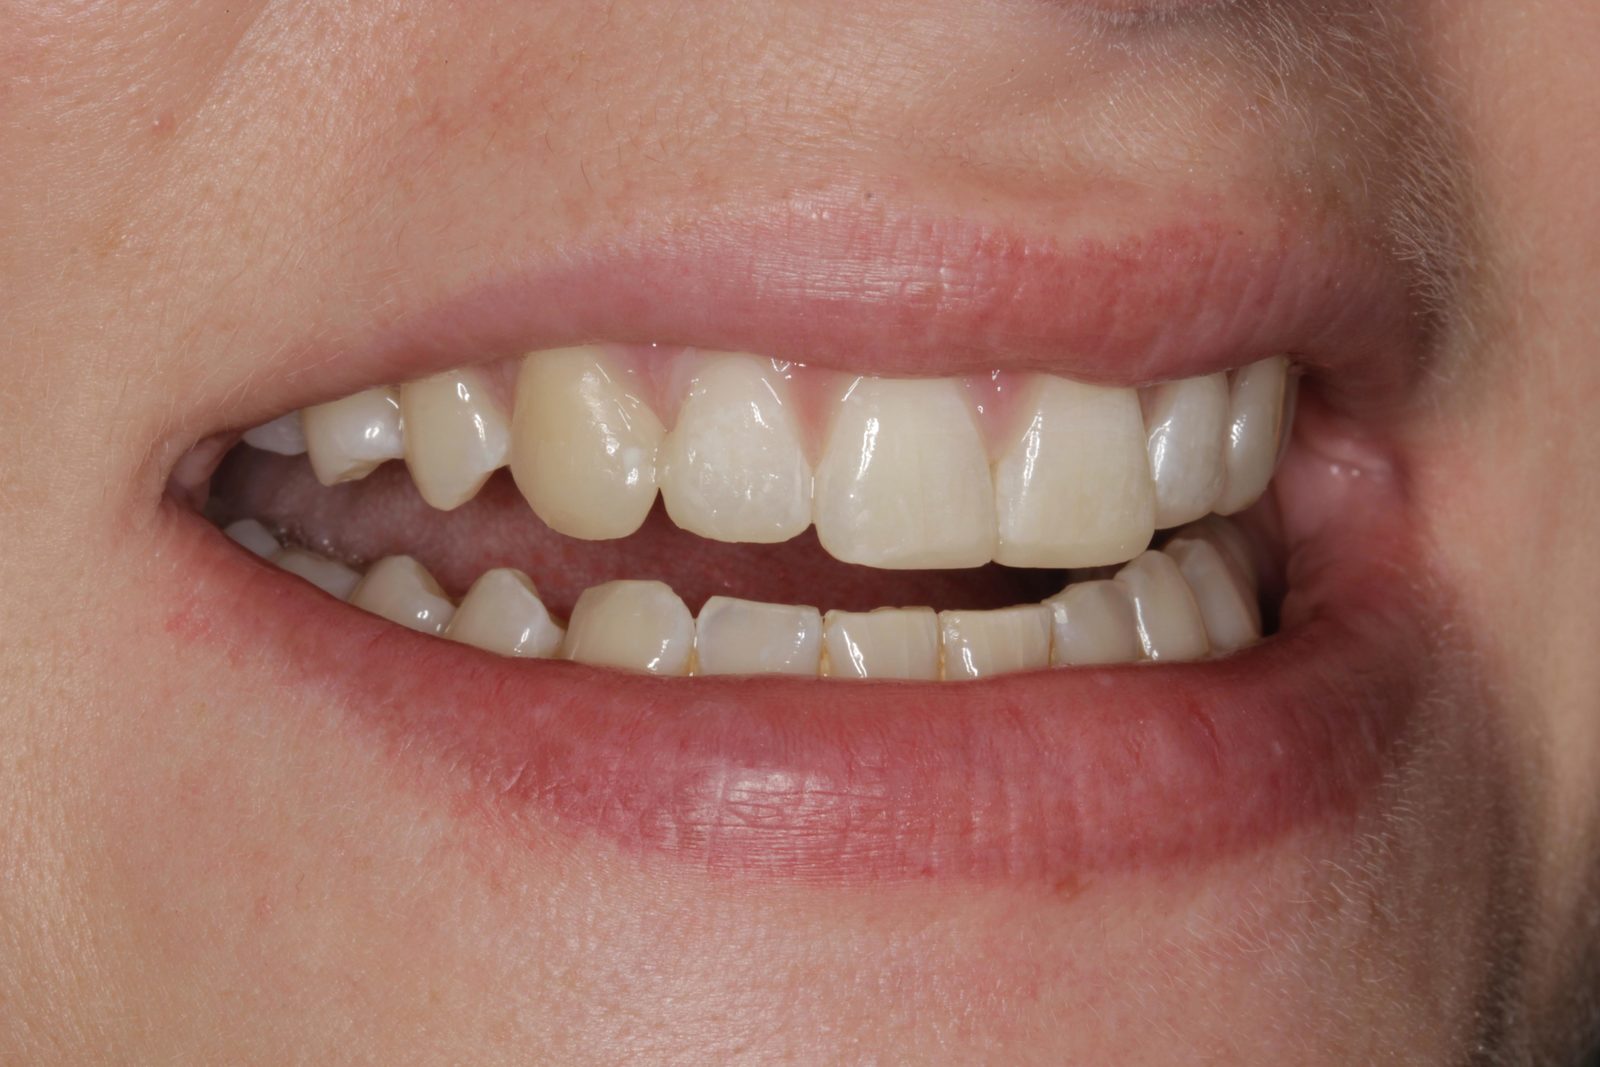
The patient’s teeth were in good condition, although there was some upper and lower incisal edge wear (Figure 2). Edge-to-edge tooth attrition was diagnosed, although the patient was unaware of clenching or grinding her teeth. The cusp tips of the upper canines and the incisal edges of the upper central incisors had been most affected (Figure 3).
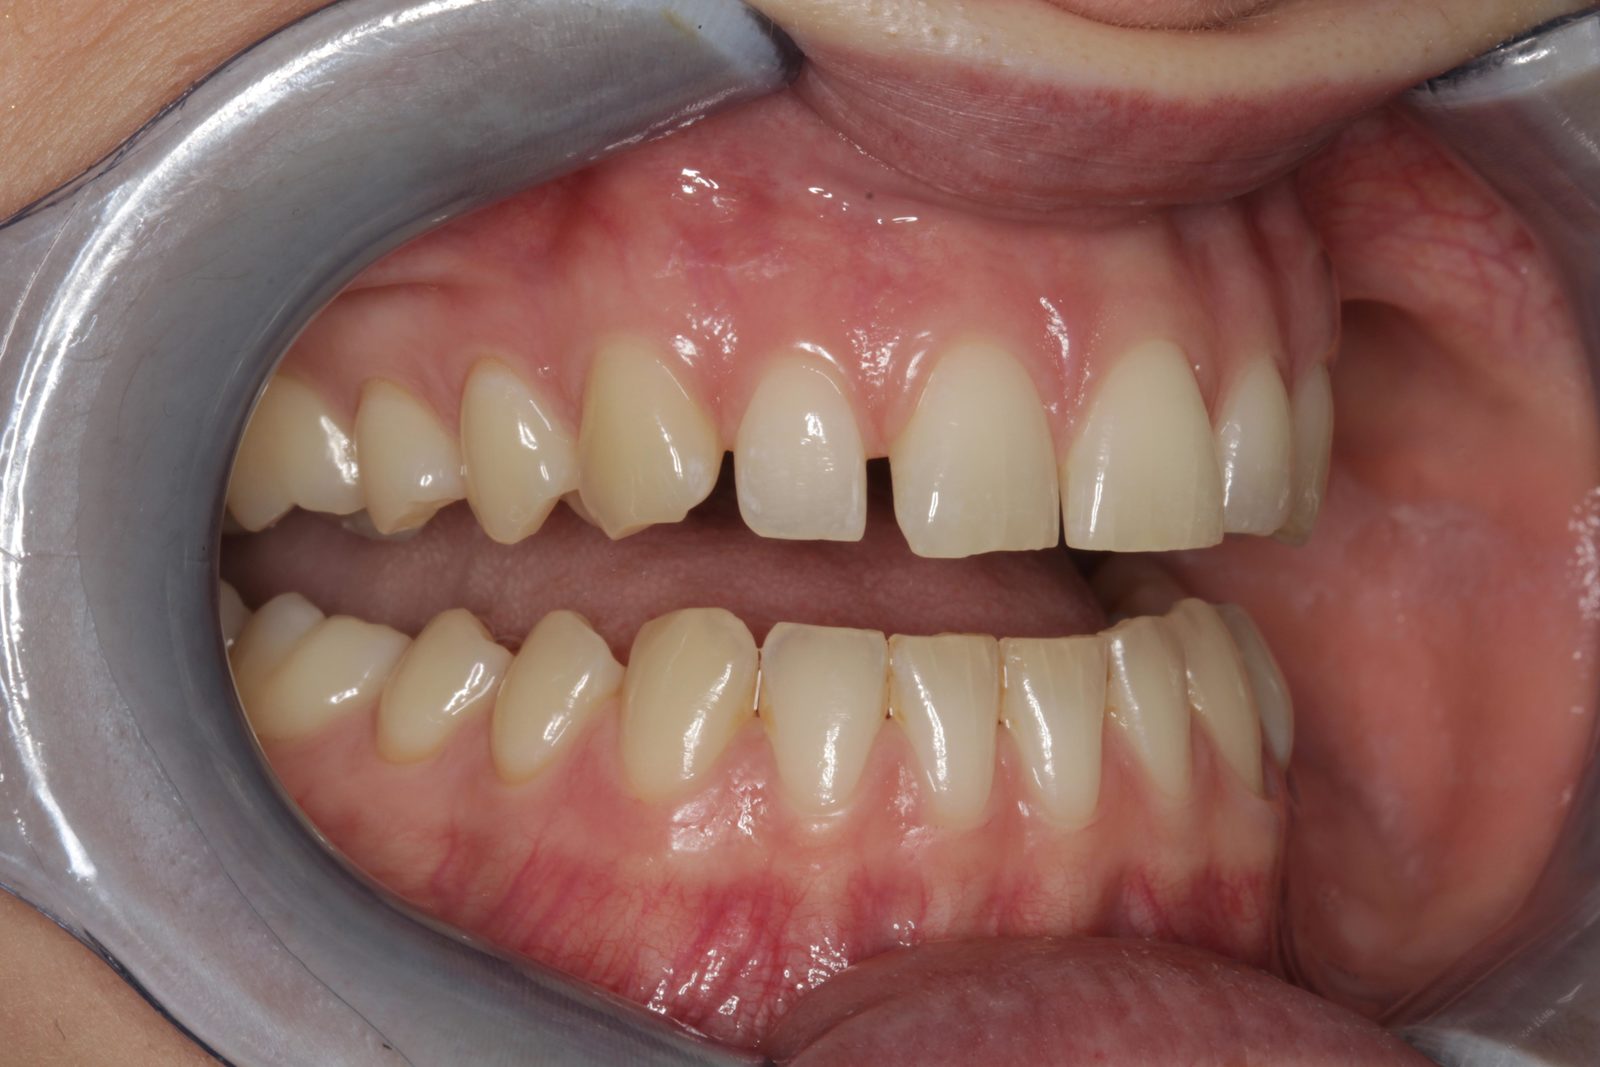
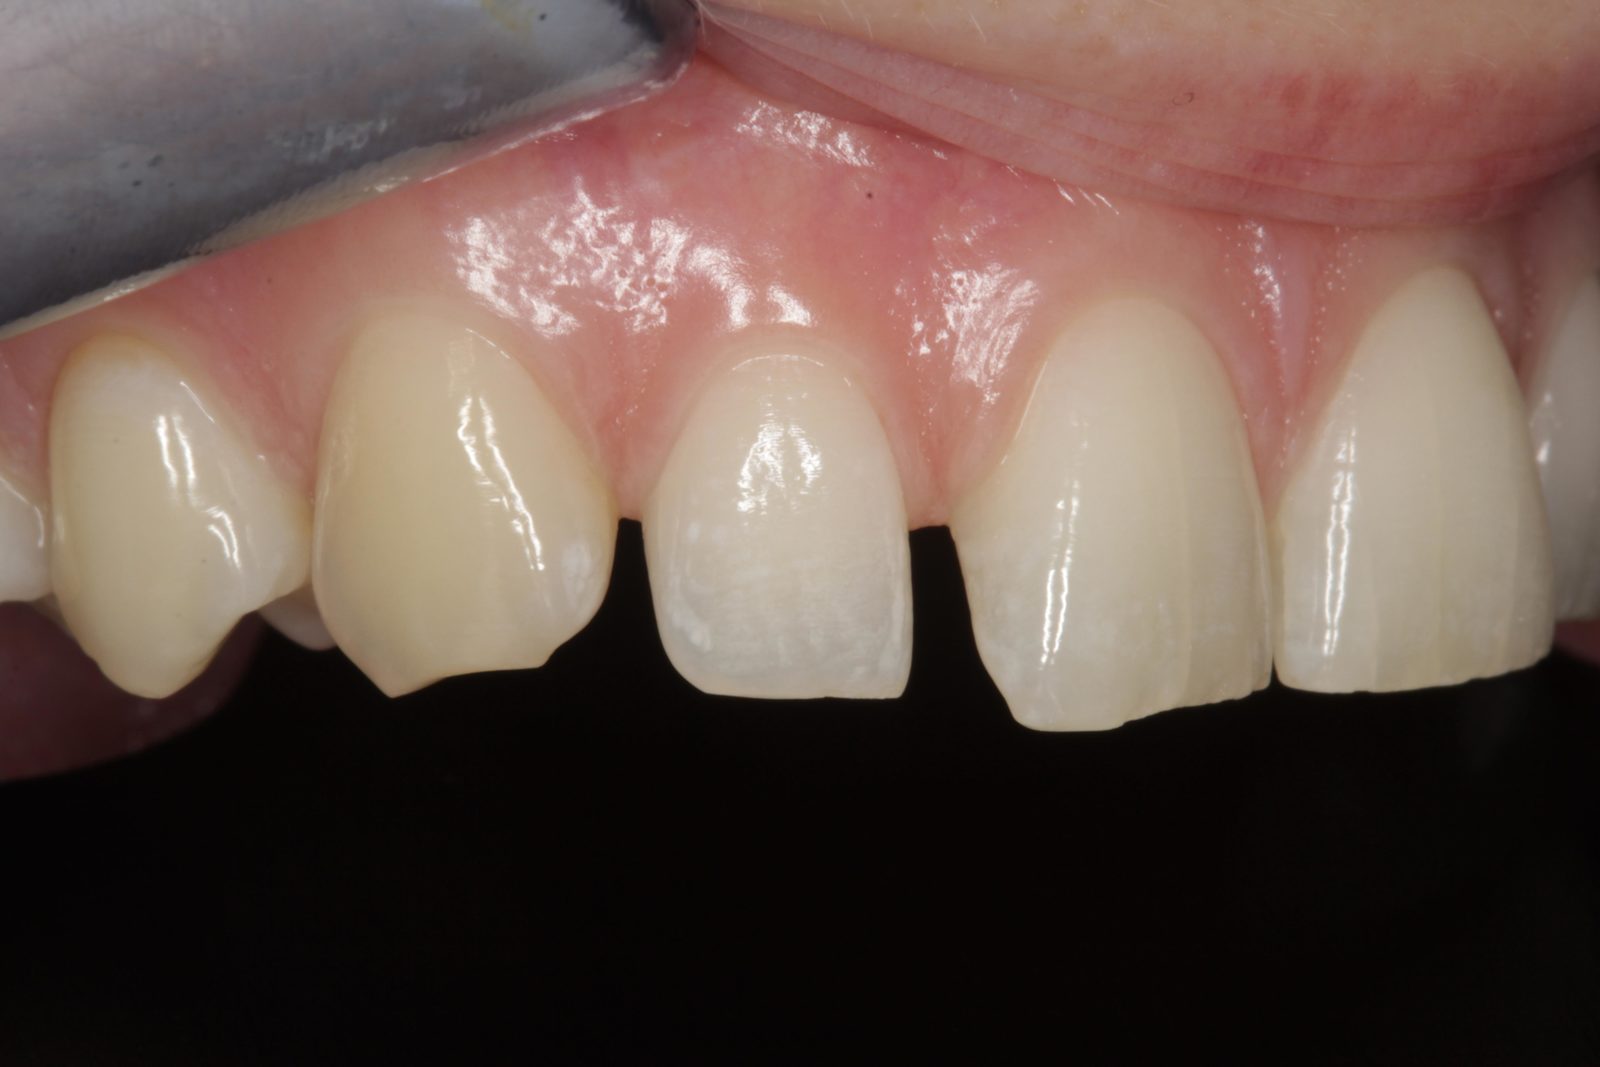
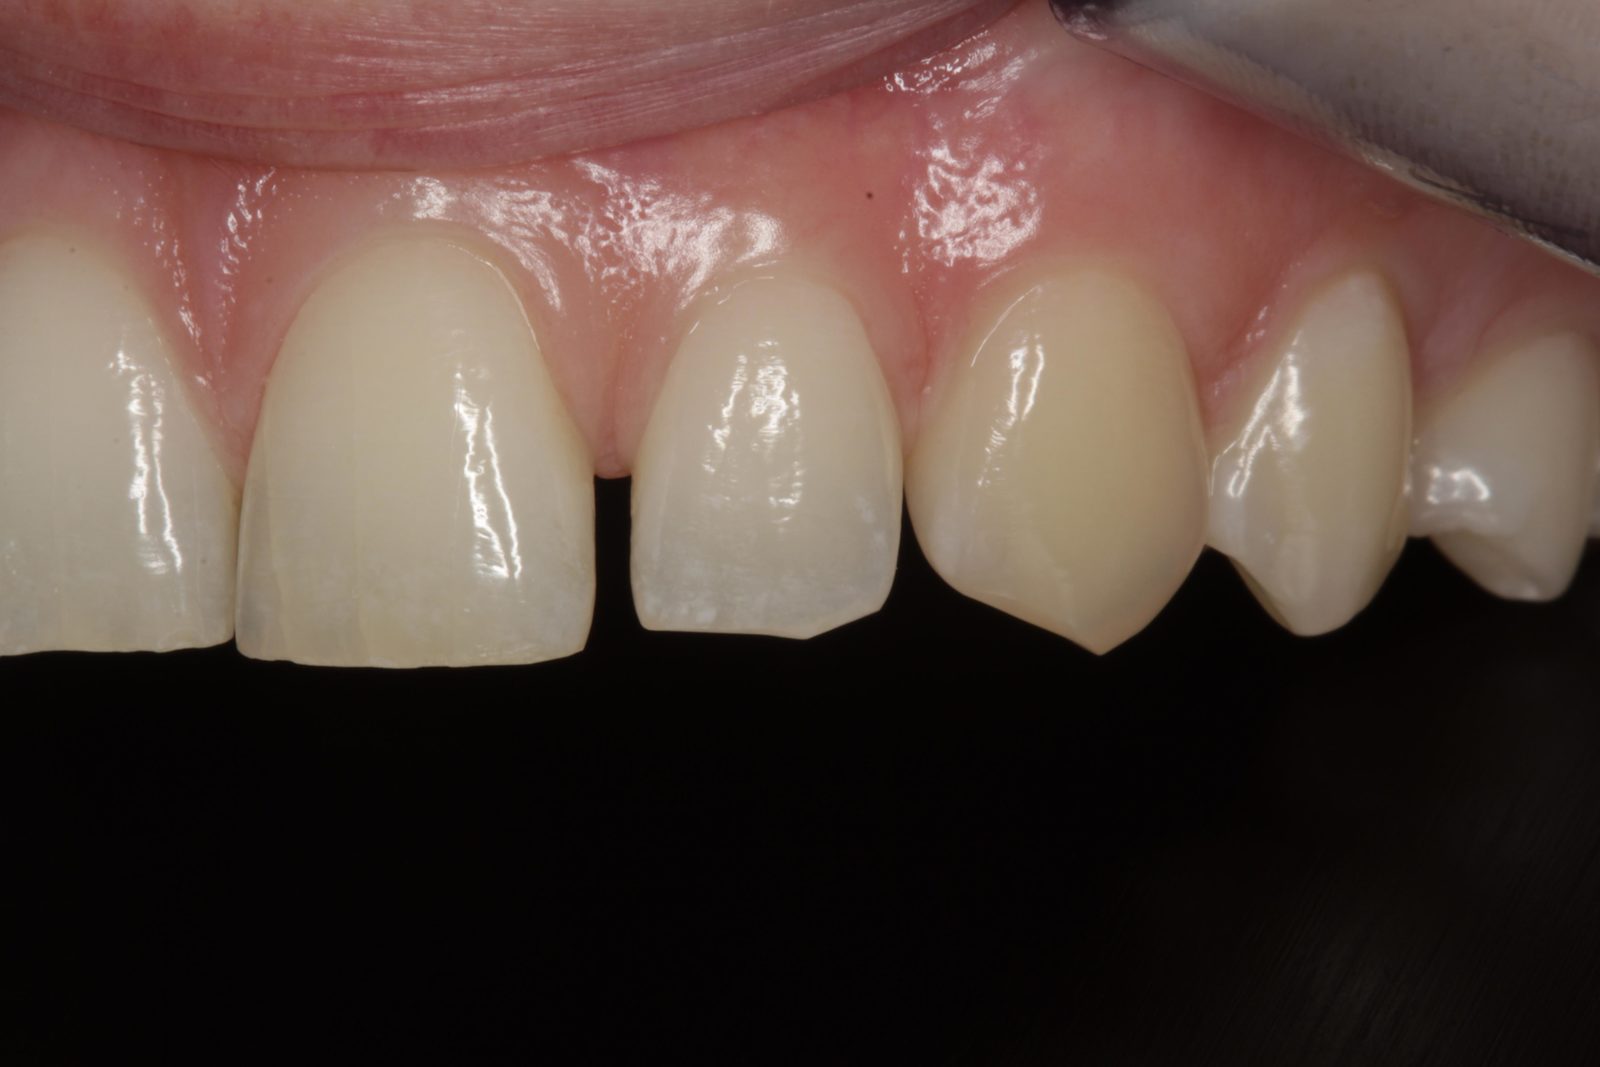
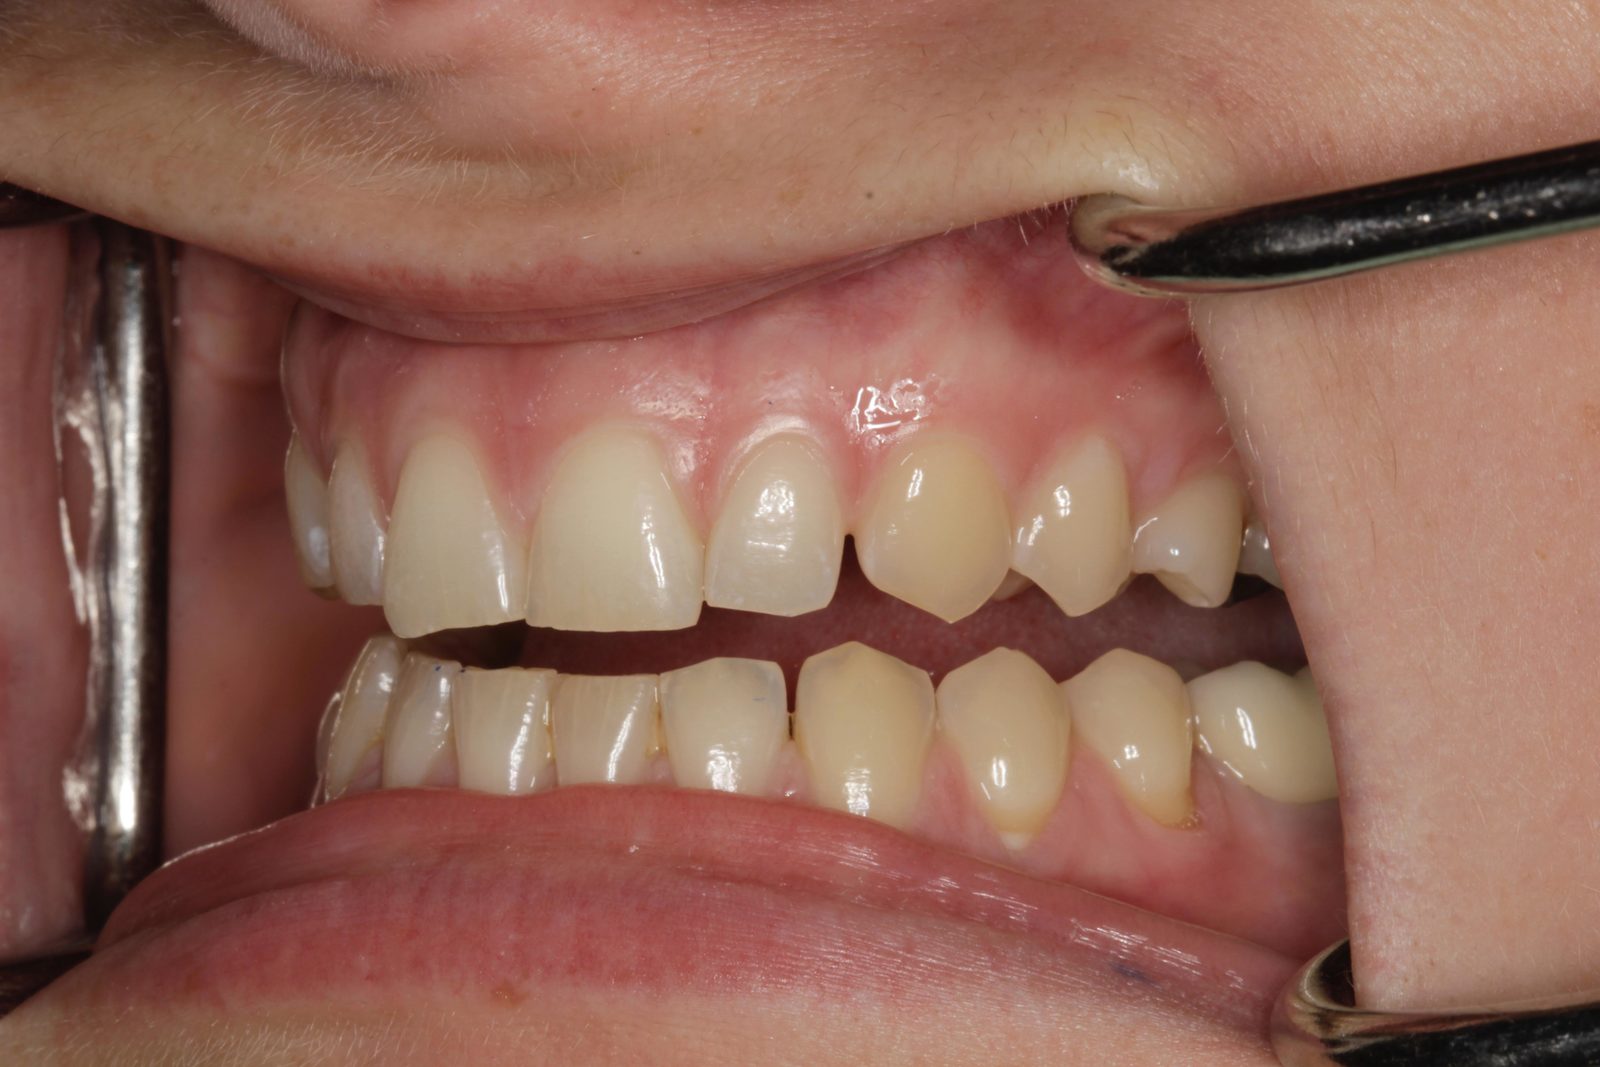
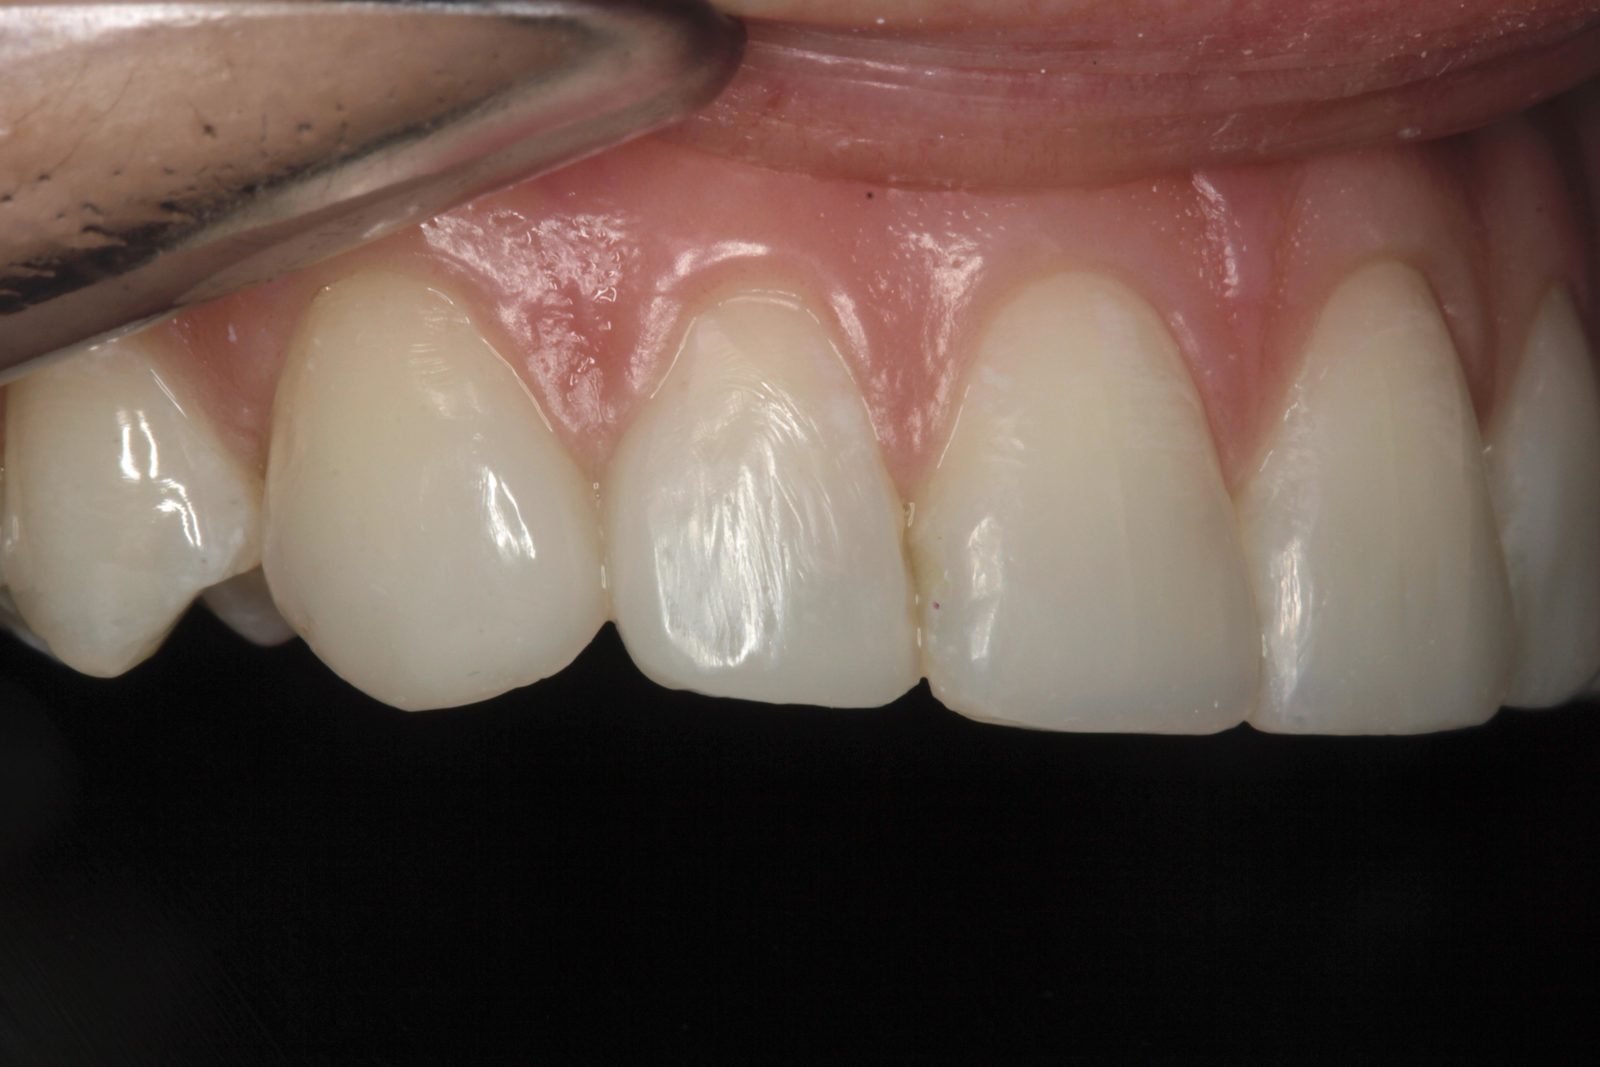
Mild plaque build-up and inflammation was apparent. The patient was advised to visit the hygienist prior to beginning treatment, to reduce any bleeding on probing. No temporomandibular joint symptoms were noted and soft tissues were healthy. There was a diastema of approximately 0.5mm distal and 1mm mesial to the upper right lateral incisor (Figure 4).
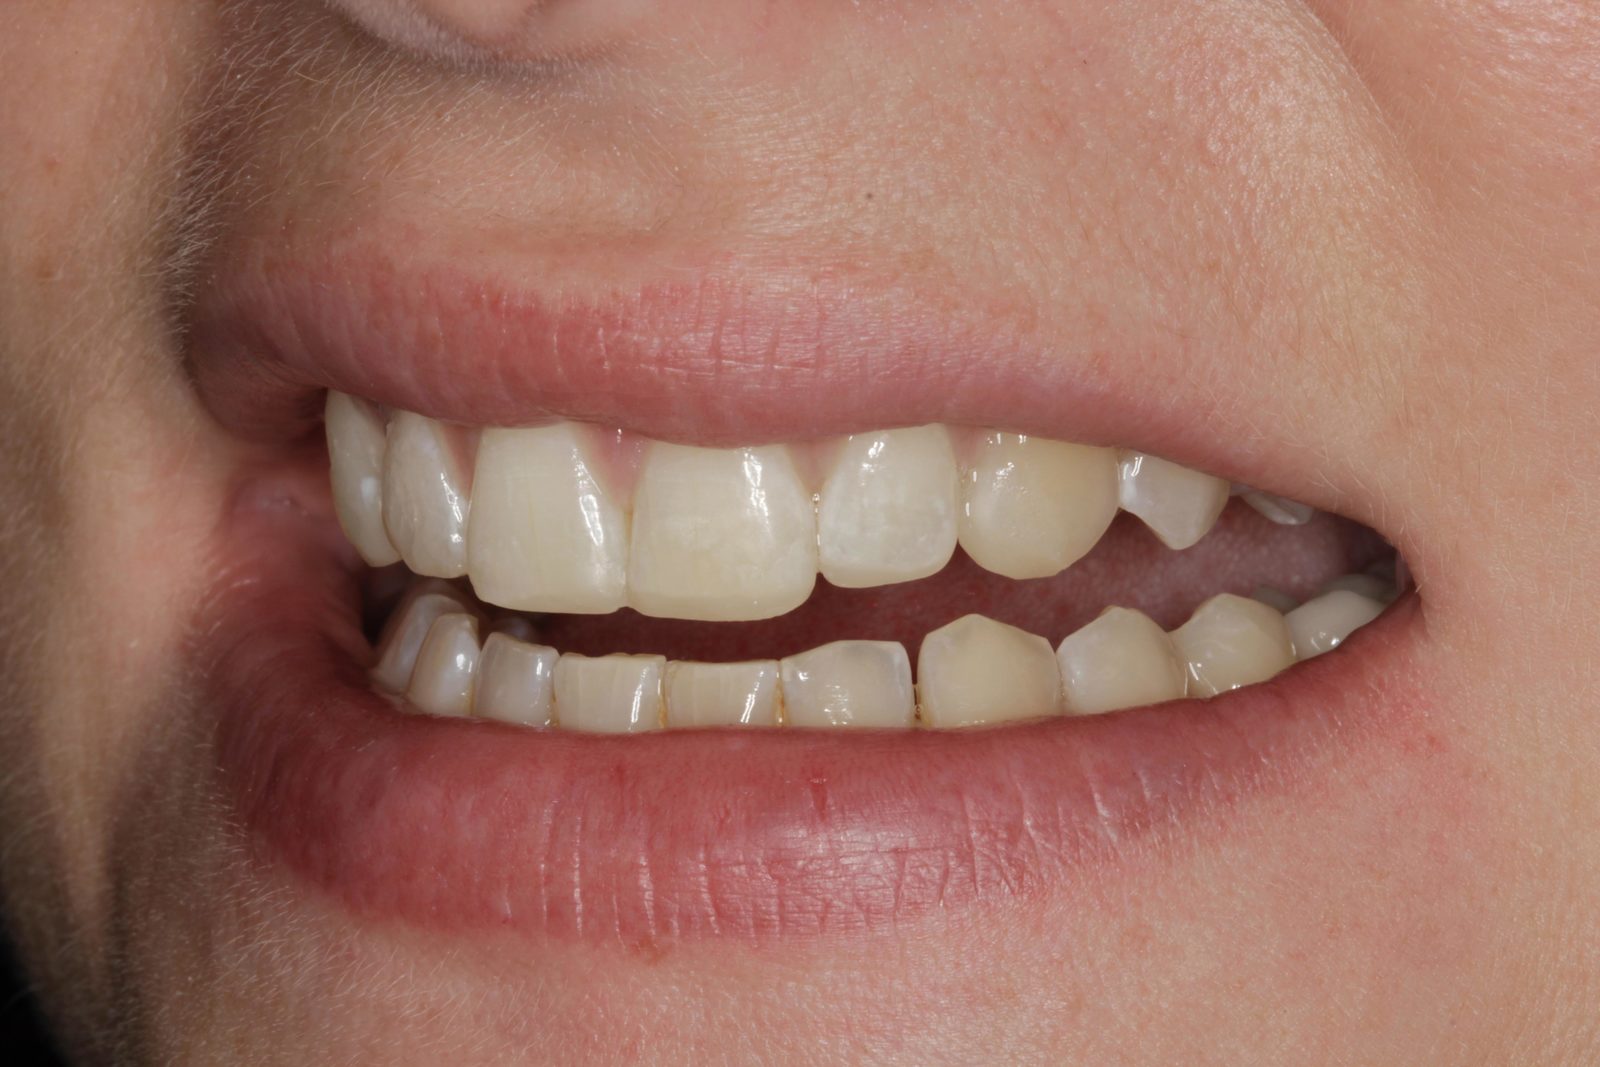
There was also a diastema of approximately 0.3mm between the central incisors and another of approximately 0.75mm mesial to the upper left lateral incisor (Figures 5 and 6). It was this spacing between her teeth that most concerned the patient. The radiographs revealed no other problems. The patient had not received any previous orthodontic treatment.
Treatment options
Closure of the anterior diastemata, by the placement of minimal preparation porcelain laminate veneers, was discussed with the patient. Other treatments considered were composite resin bonding only, or a combination of pre-alignment with orthodontics followed by composite resin bonding. Fixed and removable orthodontics were discussed. The patient did not want porcelain veneers, and felt that removable orthodontics would be convenient and fit in with her professional life.
The decision was made to use a series of removable clear aligners to straighten and centre the upper four teeth, leaving any residual space distal to the upper lateral incisors. These gaps would be eliminated by composite bonding. Treatment time using the orthodontic aligners was estimated at three to four months.
Upper and lower polyvinyl siloxane (PVS) impressions were taken using a two-stage putty with a spacer, followed by a light-body impression technique. These were sent to the laboratory along with a maximum intercuspation bite record and the patient’s photographs.
The impressions were scanned and two sets of digital diagnostics produced. The first was with the central diastema closed and residual space redistributed to behind the lateral incisors. The second was with the central diastema closed and residual space distributed evenly, mesially and distally, to the upper lateral incisors.
The first option was selected, as it was felt that this would simplify both the bonding procedures and the long-term maintenance of the bonding material. Diagnostics suggested that the treatment time would be between six and nine weeks, with each aligner worn for one week at a time.
Orthodontic treatment
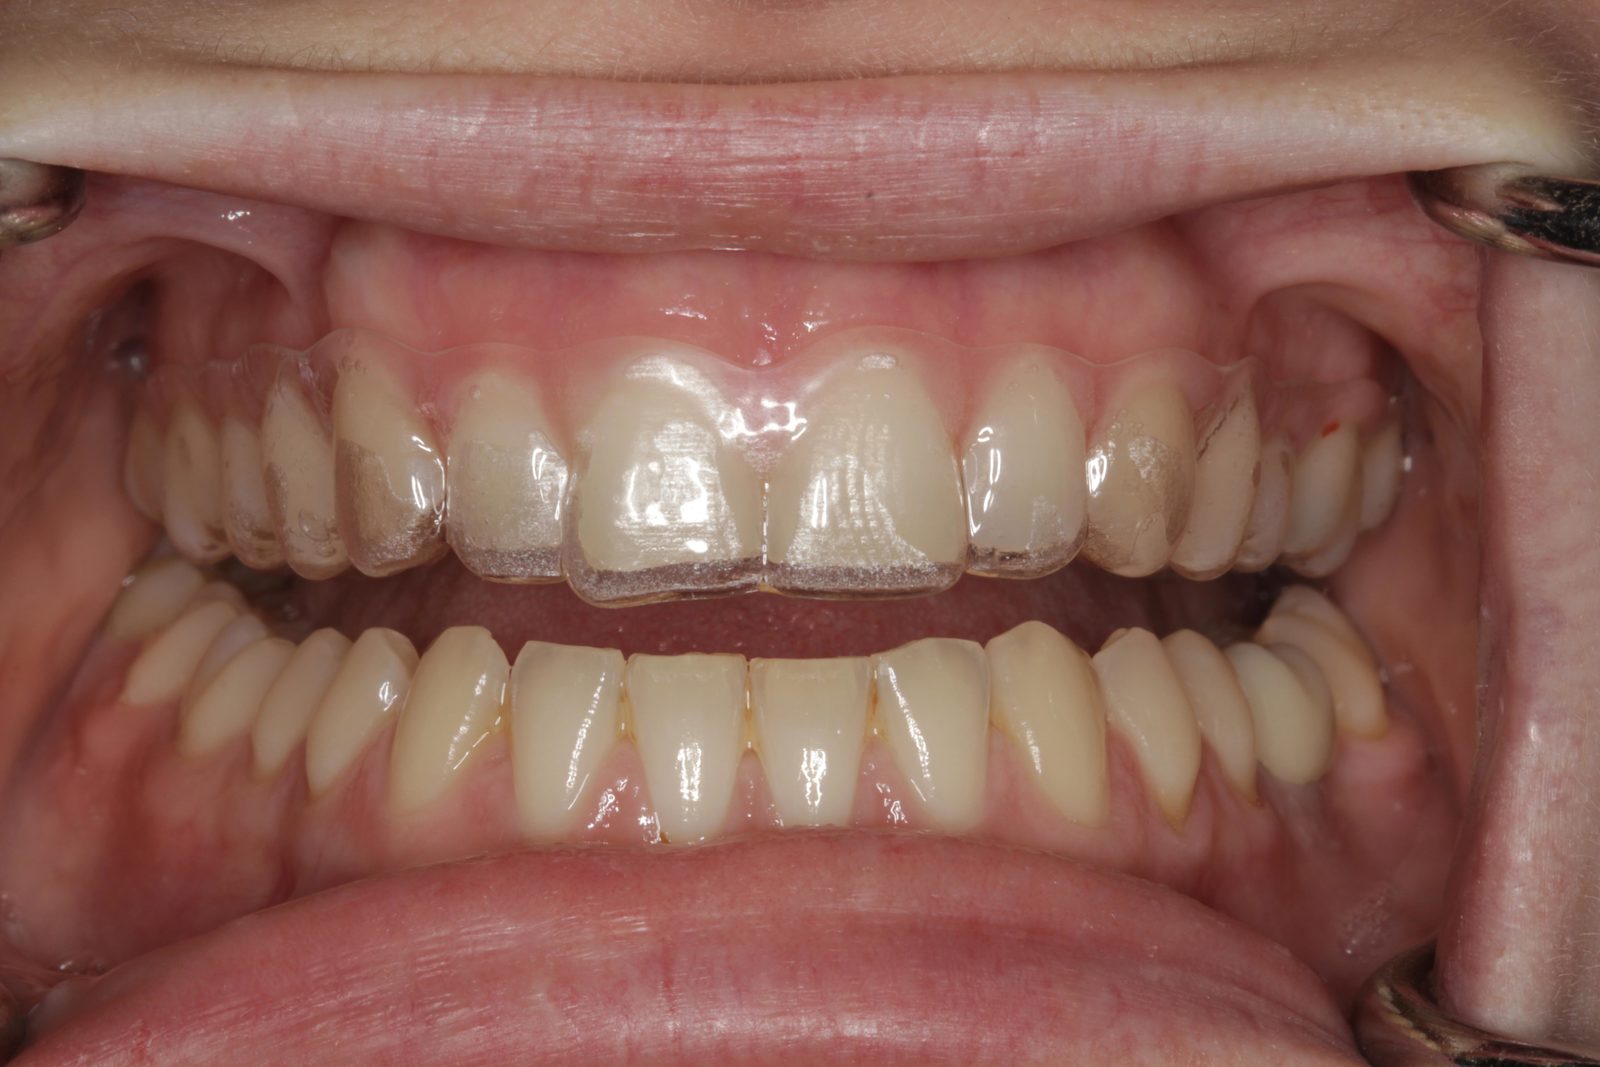
A series of six aligners was produced from the initial impressions. At the patient’s next appointment, the first aligner was checked for fit. She was given instructions to wear each aligner for 22 hours a day, for seven days, and then to change to the next aligner.
The patient was given three aligners. Three weeks later, the patient returned. The fourth aligner was checked and the patient given the next set, each again to be worn for one week. The patient was seen again and another upper arch PVS impression was taken using the previous technique.
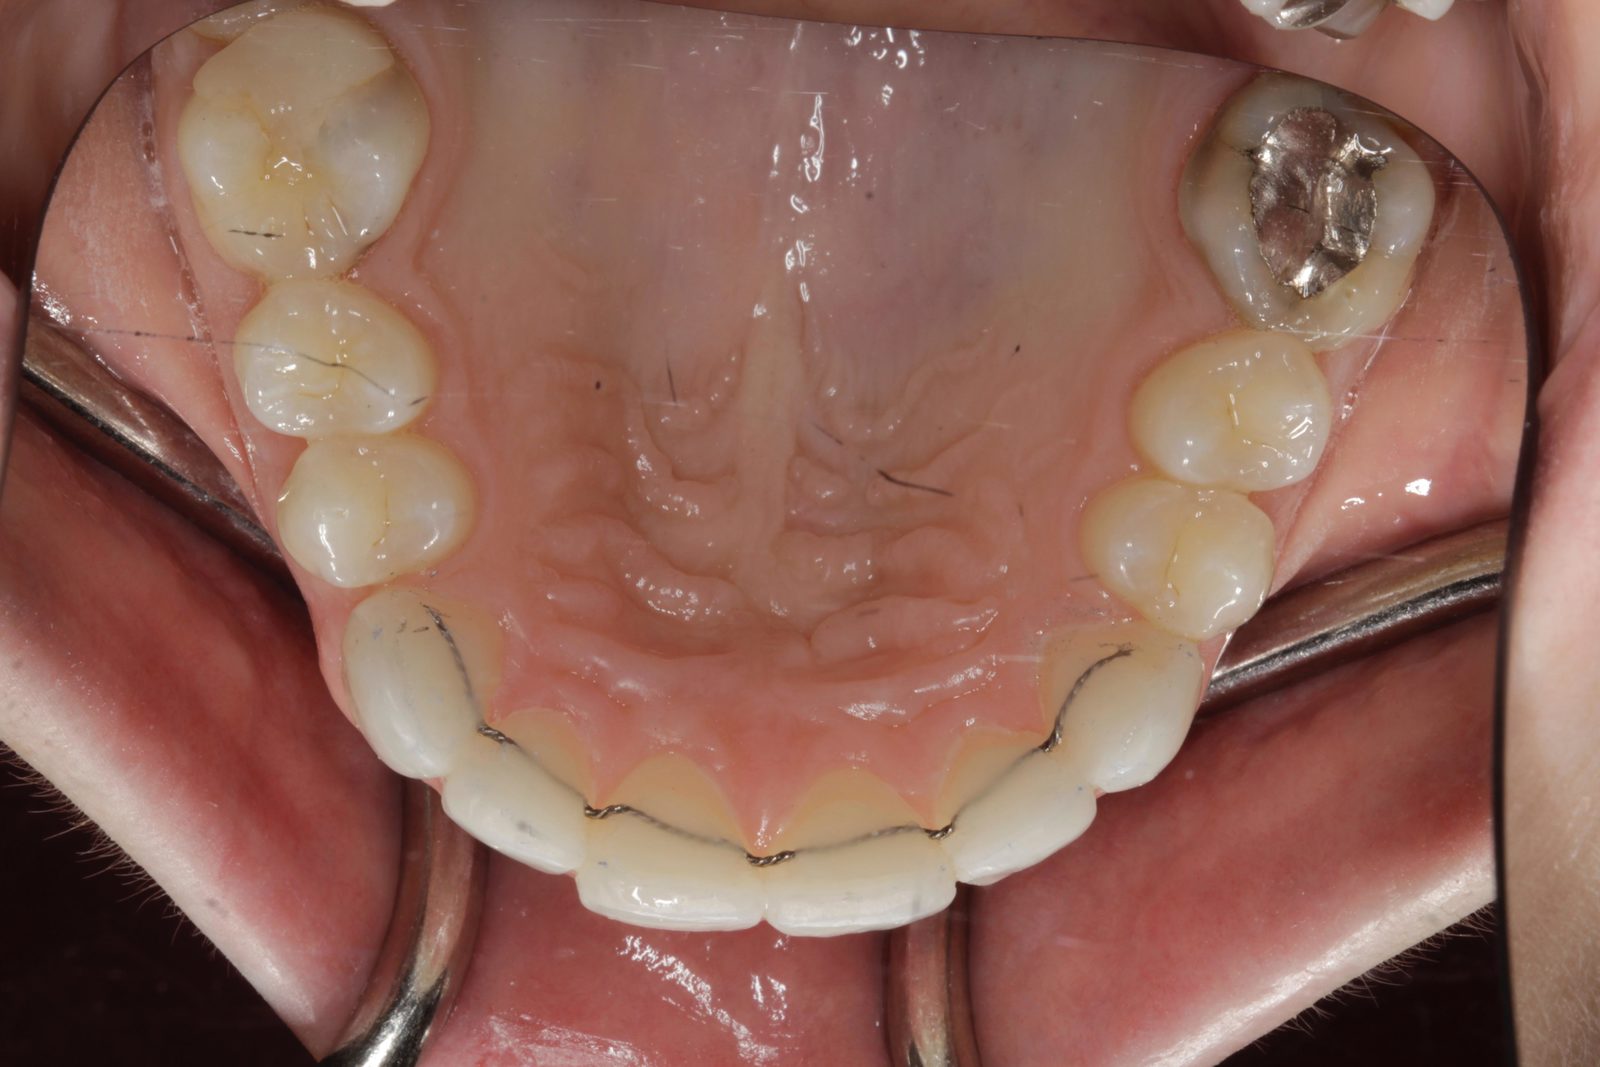
A further three aligners were fabricated, due to a discrepancy in the size of the space distal to the upper right lateral incisor, compared with the upper left lateral incisor (Figure 7). The three new aligners partly remedied this problem, although a slightly larger space still remained on the right-hand side (Figures 8 and 9). It was decided that this could be corrected with bonding.
Following alignment, a direct mock-up using Venus Diamond Flow A1 shade was tested on the upper six anterior teeth to assess what the patient wanted in terms of tooth length and shape (Figures 10-12). This was adjusted until the patient was happy. An impression was taken to make silicone matrix guides, which could be used for the final composite resin restoration.
Tooth whitening
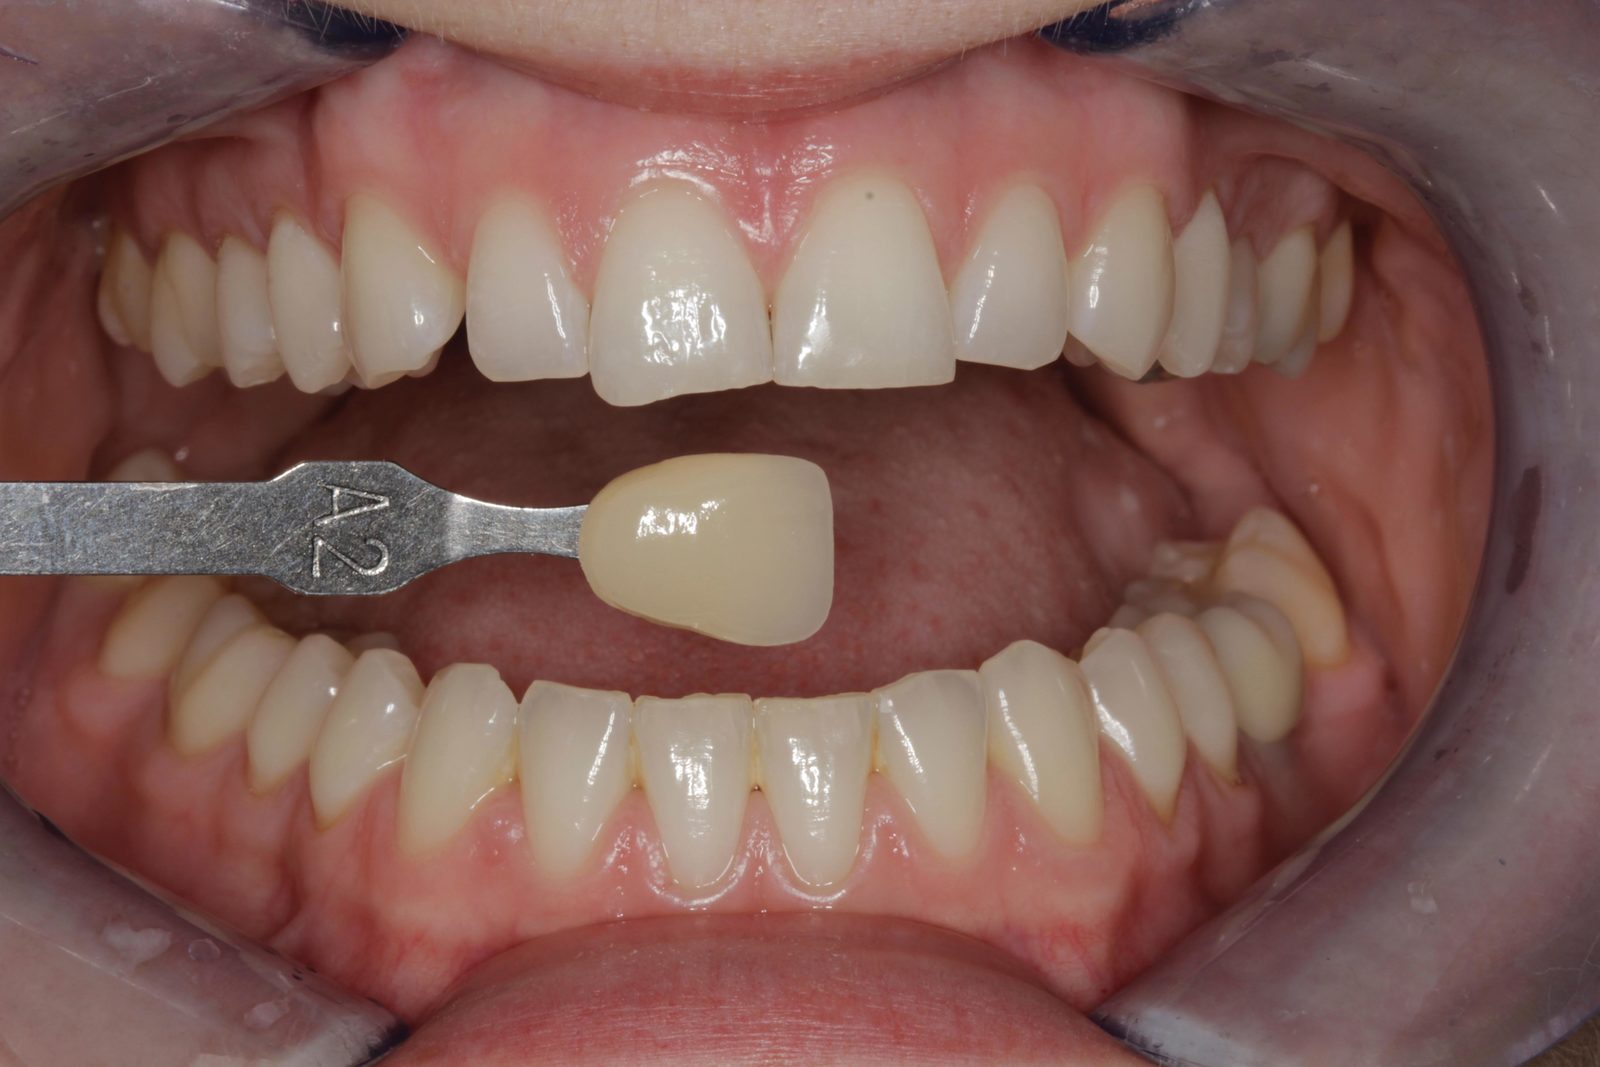
Impressions were taken for upper and lower tooth-whitening trays, and standard photographs were taken with shade tabs. The patient carried out three weeks of home tooth whitening for 35 minutes a day with 6% hydrogen peroxide Philips Zoom! Daywhite gel.
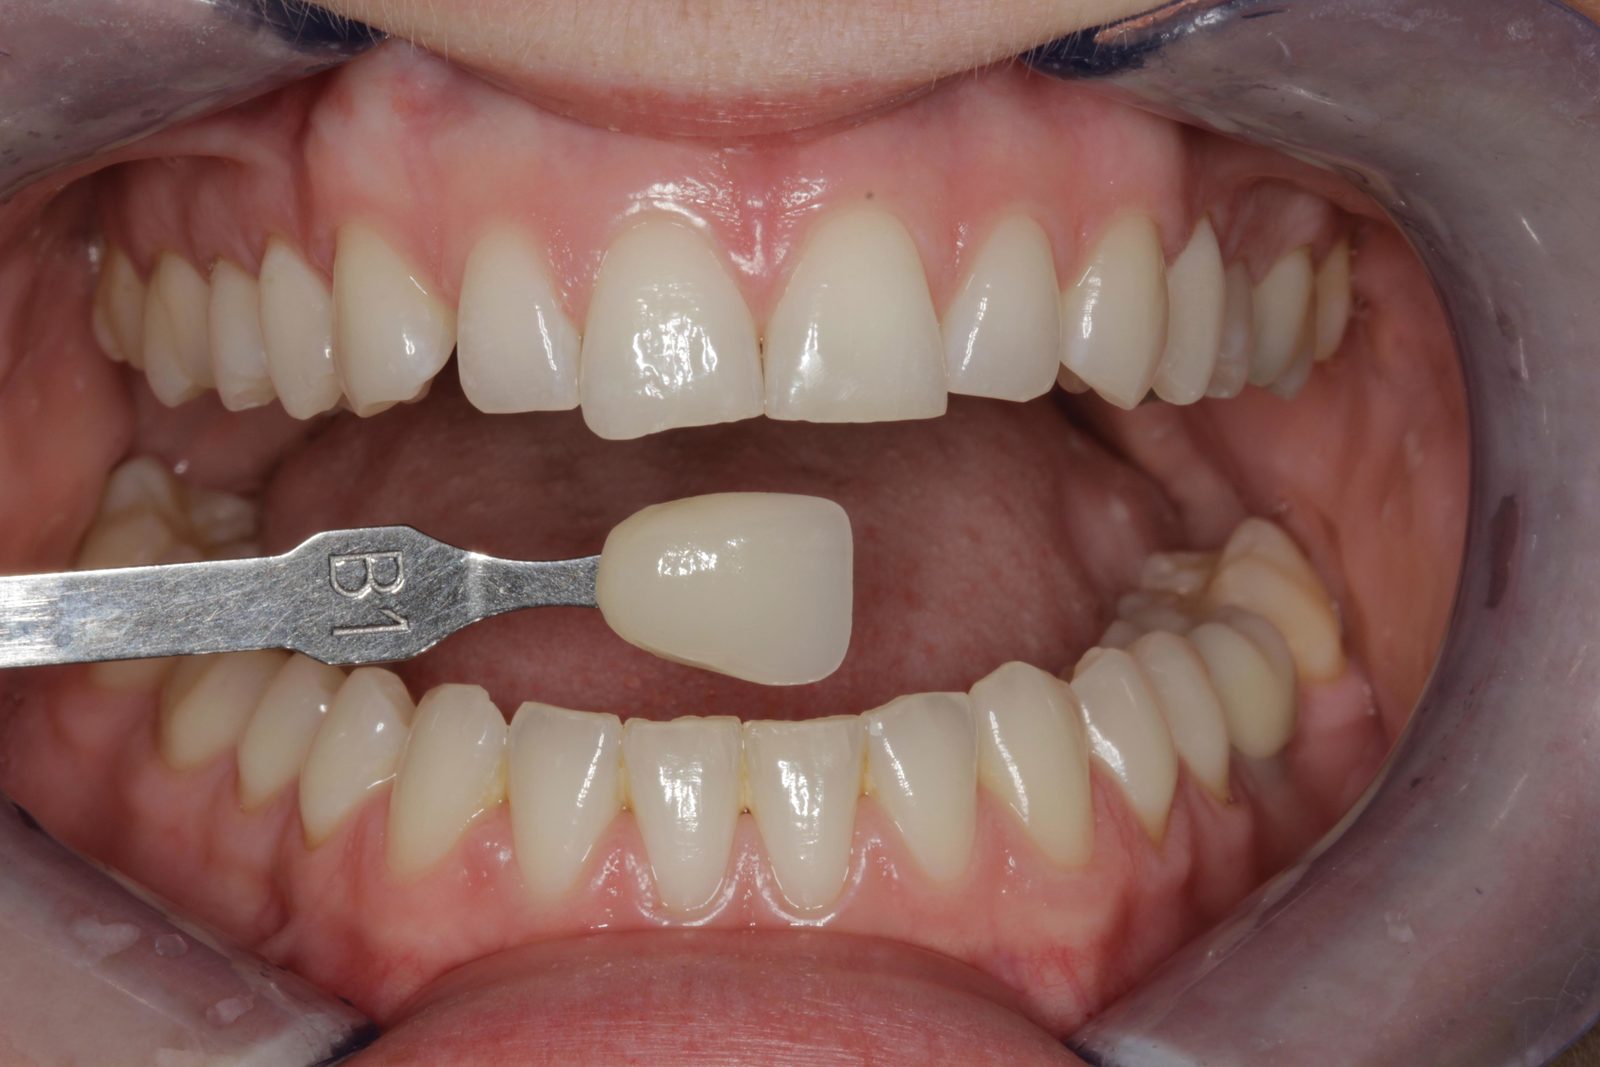
The pre-whitening shade was Vita A2 and, at the review appointment three weeks later, the final shade achieved was B1 (Figures 13 and 14). The patient was very pleased with the result. She was advised to continue wearing her removable aligners for 22 hours a day. An appointment was arranged for the bonding procedures approximately four weeks after the commencement of tooth whitening. This left at least a week between completion of the whitening and the composite bonding to avoid interference with the bond strength.
Predictable, aesthetic results
The upper anterior teeth were anaesthetised and isolated using rubber dam. Small labial and lingual bevels were placed with a fine diamond bur, in areas of tooth wear on the upper canines and upper central incisors. The areas to be restored were treated with Sof-Lex discs to remove the aprismatic enamel layer. The teeth were etched with 35% phosphoric acid etch gel. A two-stage total-etch bond was then applied.
The central incisors were restored first. The palatal shelf was created using Kulzer Venus Diamond Opaque Light Chromatic (OLC) dentine shade and the remainder of the labial surface was restored with Venus Diamond B1 shade (Figure 15). Modelling brushes were used to distribute the composite evenly over the labial face.
Venus Diamond enables me to create a seamless blend with the natural tooth structure at the incisal edge. Combining several shades is a simple and predictable way to achieve a perfect match.
The next stage was the closure of the diastemata distal to the upper lateral incisors. Kulzer Venus Diamond Flow B1 shade was used to create the initial composite hip. The material has sufficient viscosity to flow into the depths of the matrix. Venus Diamond Flow maintains the shape and position of the matrix and wedge, prior to application of the enamel layer. The Clark Matrix System was then used to add Kulzer Venus Pearl B1 shade to both the distal surfaces of the lateral incisors and the mesial surface of the canines (Figures 16 and 17).
The aesthetic properties of Venus Pearl worked well as a single shade in this instance. The Universal B1 composite restored the entire interproximal area. I chose to use Venus Pearl as it becomes more malleable when heated, allowing excellent flow characteristics necessary for use with the Clark Matrix System. Each layer of composite material was light-cured in accordance with the manufacturer’s instructions. A final cure was made after covering all composite in a layer of glycerine gel.
Initial polishing and shaping was carried out using fine diamond polishing burs, followed by a comprehensive finishing and polishing system (Figure 18). Finally, felt and mylar discs with aluminium oxide polishing paste were used. An impression was taken for fabrication of a braided steel wire.
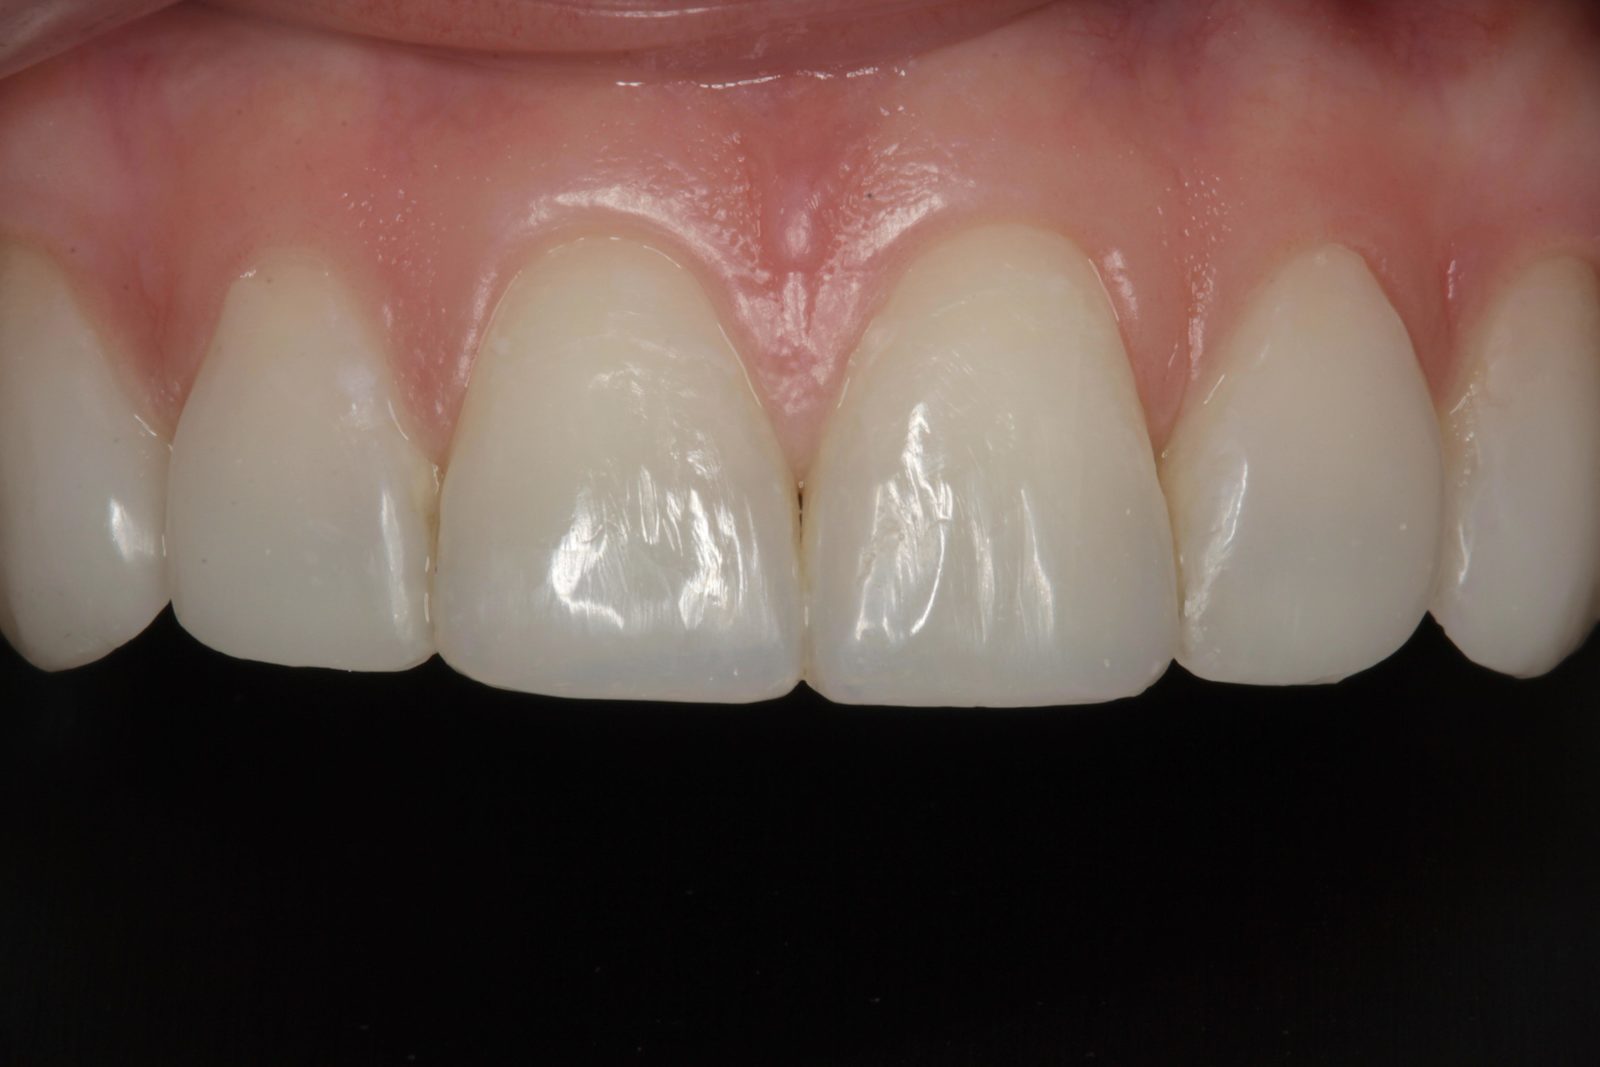
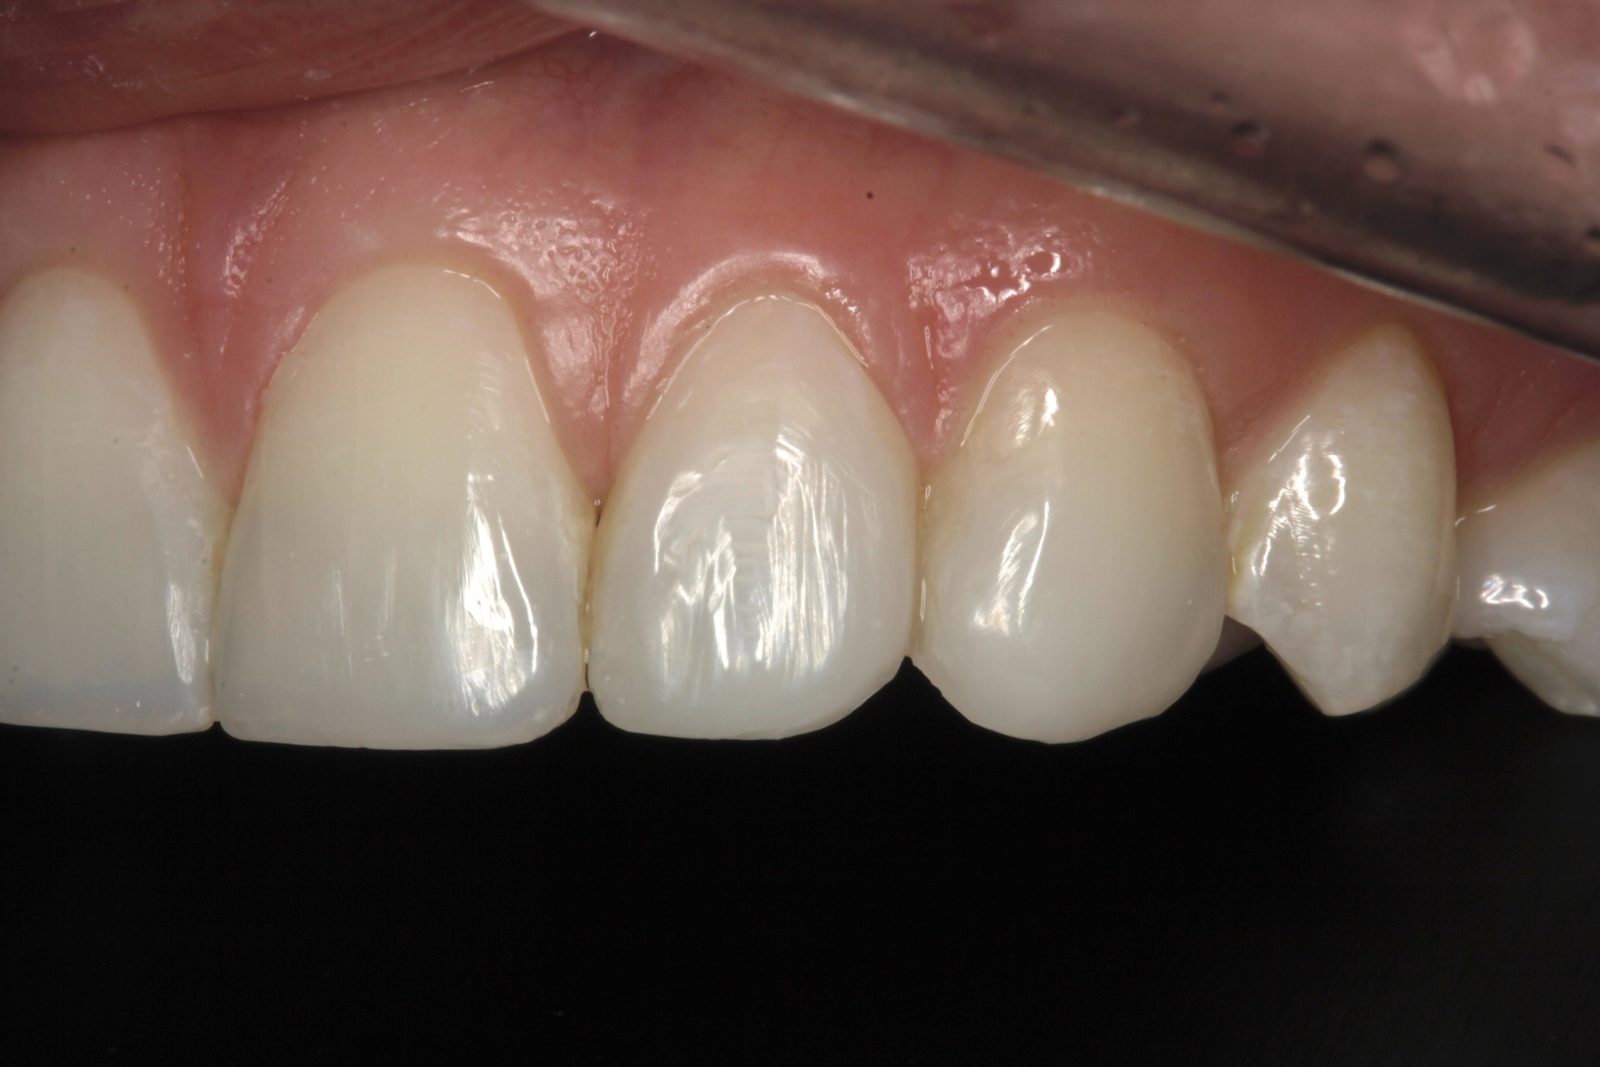
At the final appointment, the retainer wire was bonded across the palatal surfaces of the upper six anterior teeth using Venus Diamond Flow, to prevent tooth relapse (Figure 19). Venus Flow is easy to apply and manipulate without slumping. An additional final impression was taken for a new upper Essix retainer.
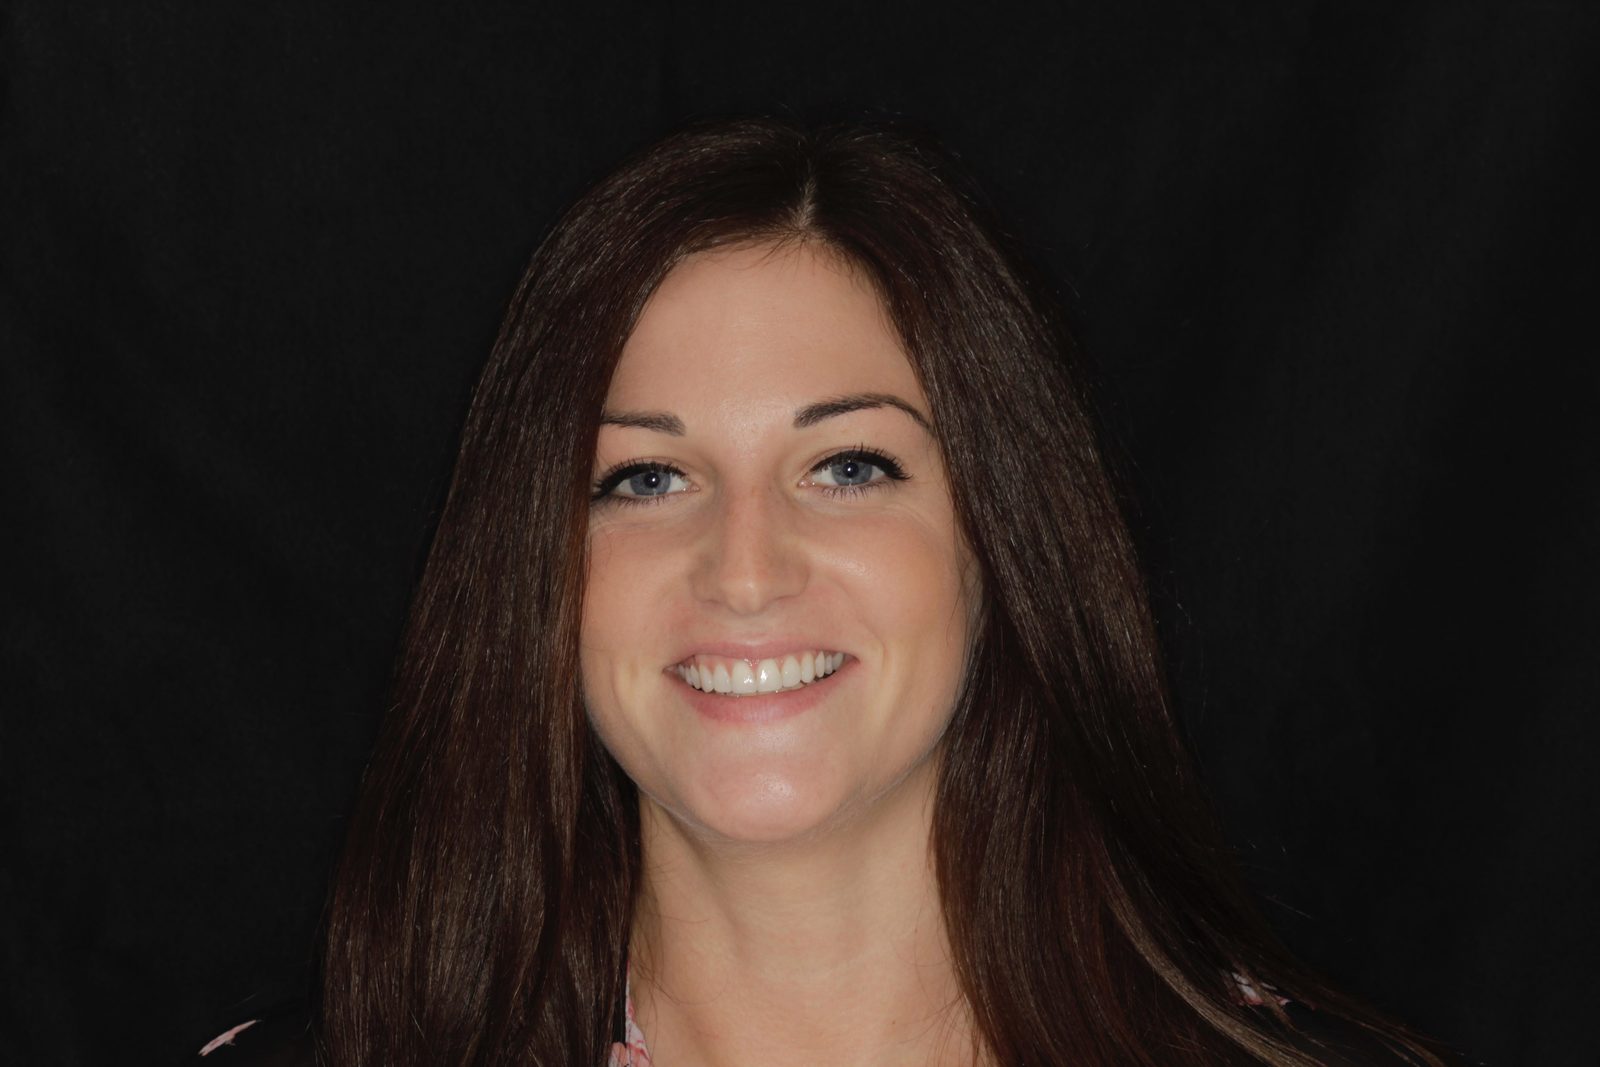
This case was as minimally invasive as possible. The orthodontic treatment was straightforward, and facilitated simple whitening and composite bonding stages. Overall, I was very pleased, in particular, with the appearance of the restoration closing the spaces distal to the lateral incisors. The patient, who is due to get married this year, was very happy with the final outcome (Figures 20 and 21). As a result, she has referred several friends.