 In the second of a three part series, Stephen Martin continues his top tips in endodontics, looking at the importance of the proper scouting of canals, irrigation and the glide path.
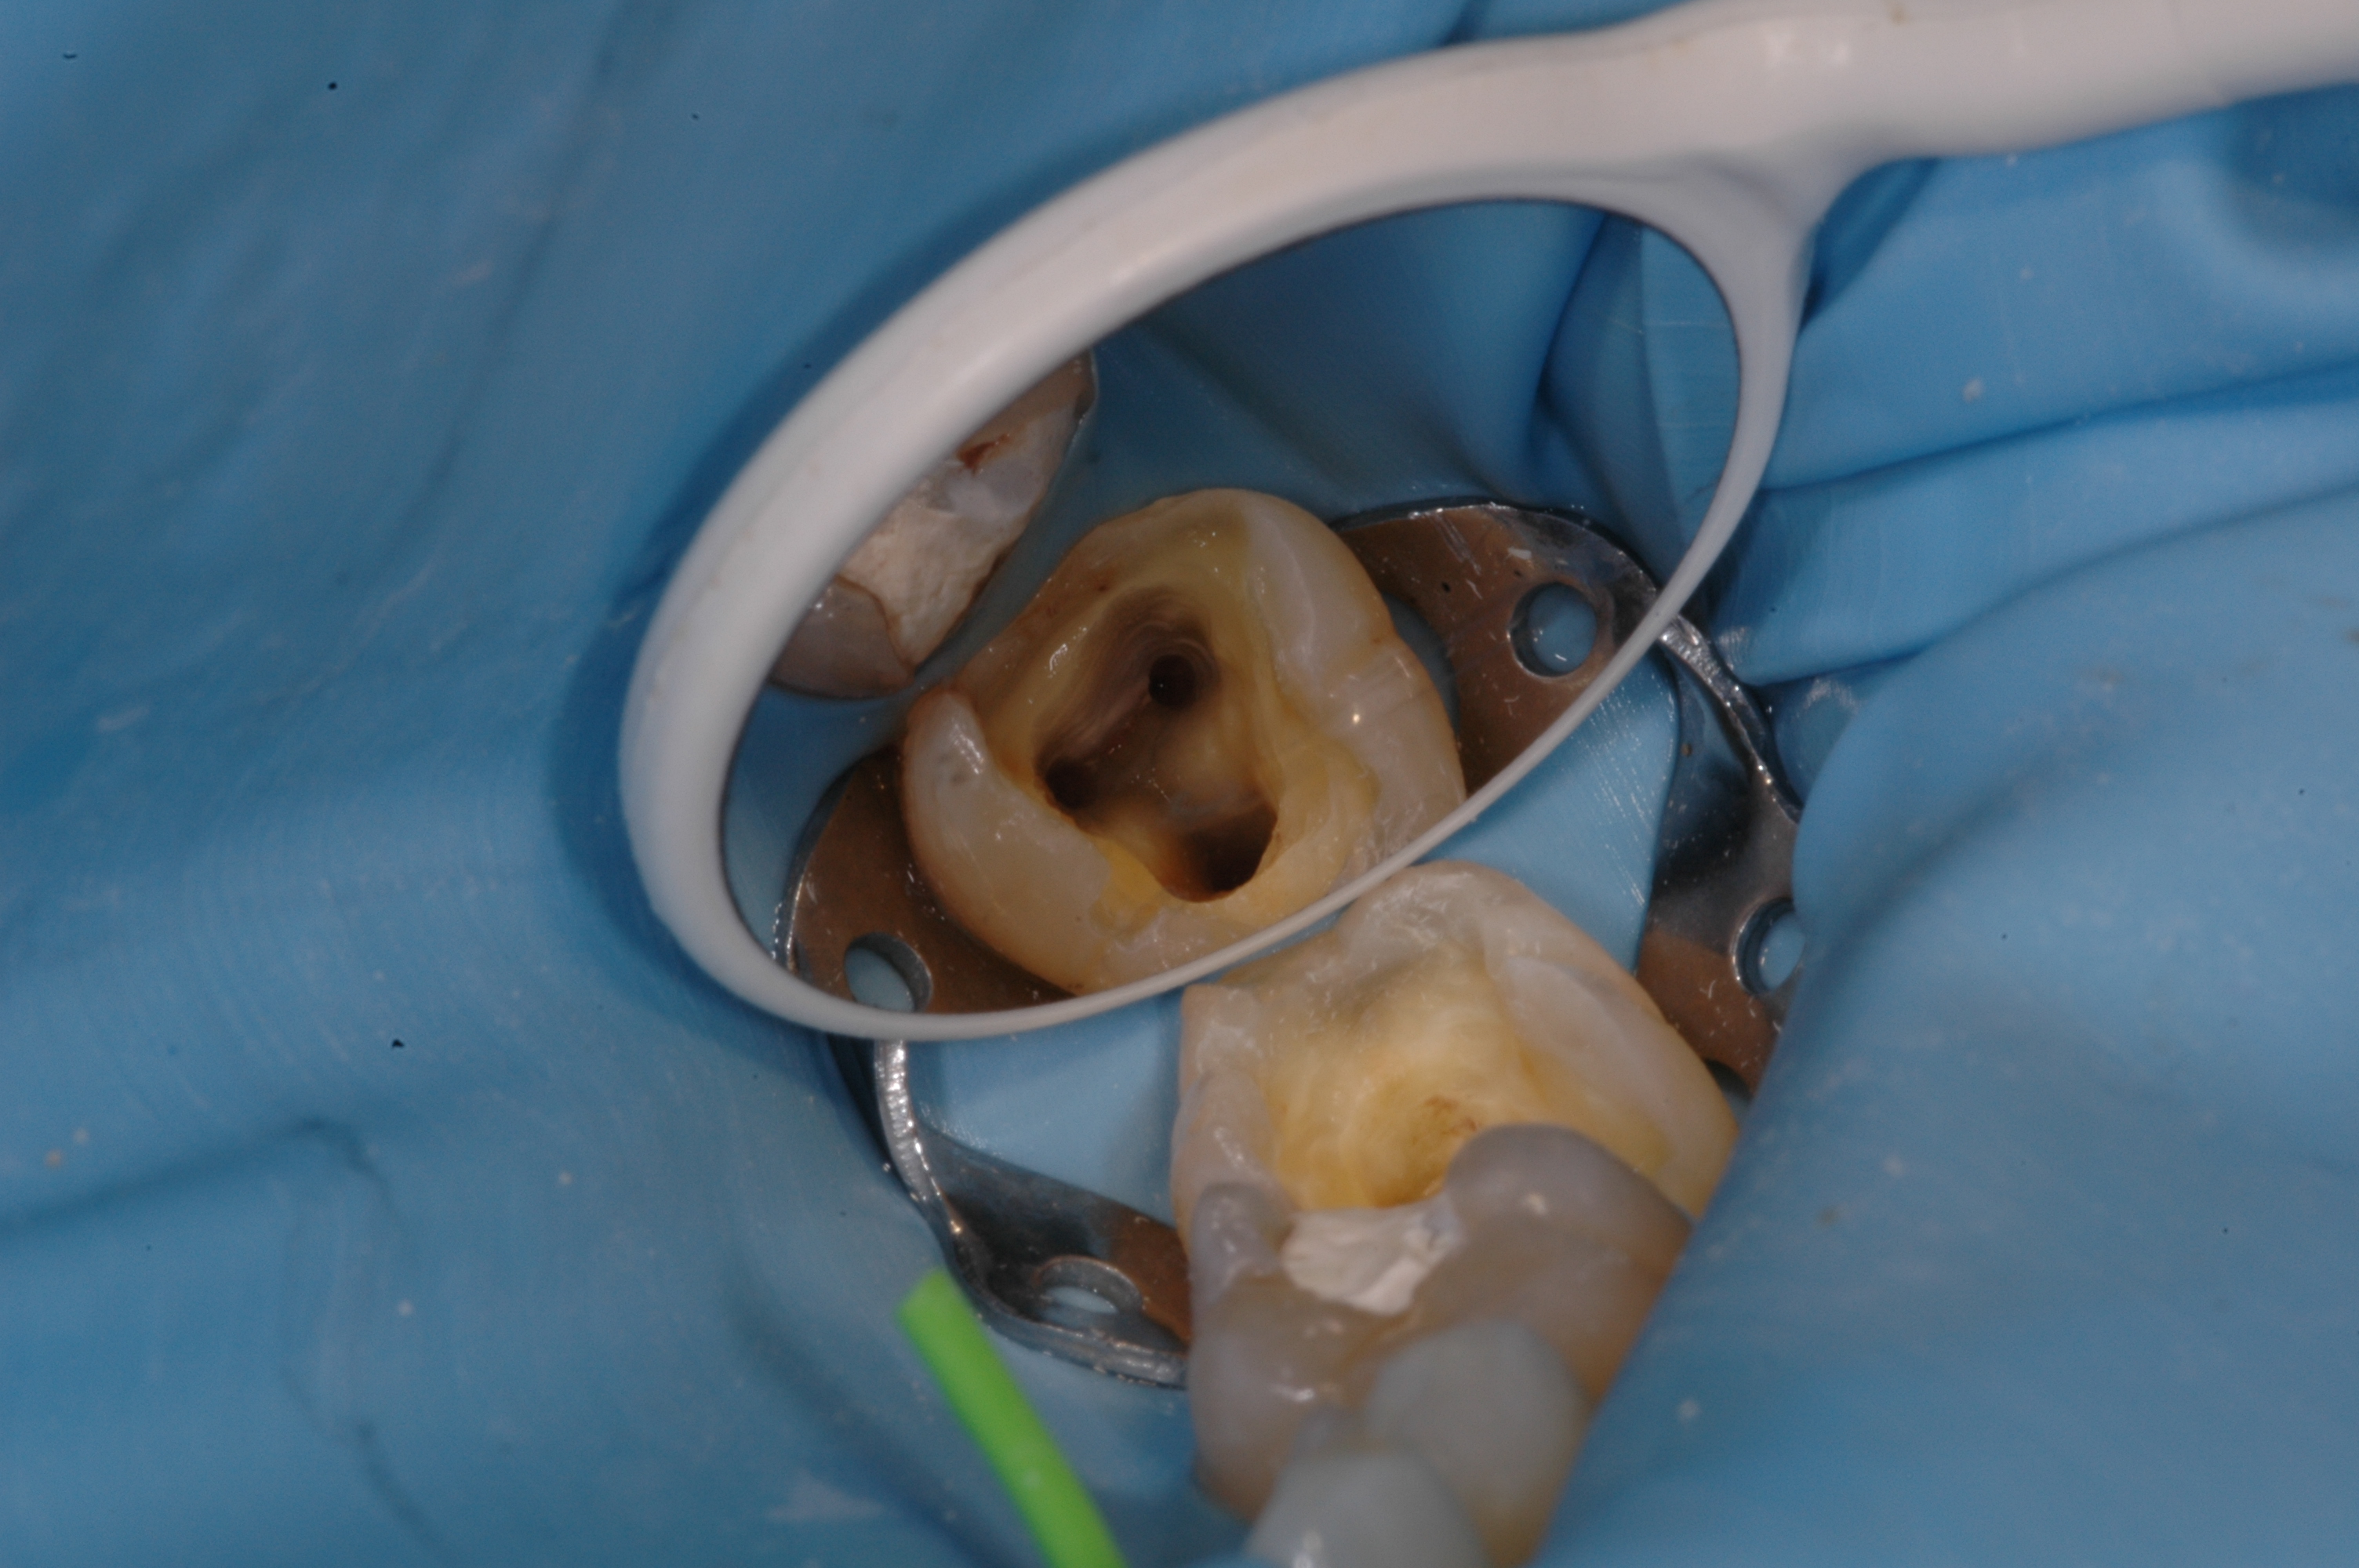
Following on from the preparation of an access cavity that allows good straight line access to all of the canals, the next stage is to clean and shape the canals.
It is important to scout the canal initially with a pre-curved #10K file to check canal patency and to ‘get a feel for the canal’. This physical feedback then allows the clinician to assess how to proceed with canal preparation. I always curve the tip of the file to ease the passage down the canal. Canals are almost always curved to some degree, and curved files will find their way more easily down curved canals. The endodontic glide path is a smooth tunnel from canal orifice to canal terminus, which allows the preparation instruments to follow the natural path of the canal. If the #10 file glides easily straight to length, very little work needs to be done to secure a glide path.
However, if the canal is narrow or curved then time spent in securing the glide path at this stage will facilitate introduction of canal shaping instruments and allow them to proceed safely and fairly effortlessly to the apex. Traditionally glide paths are prepared with stainless steel hand instruments moving from a #10 to #15 to a #20K file before starting to use the shaping files in a rotary system, such as Protaper Universal. However, there are now rotary instruments available to make glide path preparation easier and more predictable, reducing potential complications such as canal transportation, apical zips and ledges. The Proglider is a Niti file made of M-wire, which is super-elastic, and allows preparation of the glide path with one instrument.
It is very important not to try and force files to length at an early stage in preparation for more difficult canals. Always carry out the coronal preparation first and don’t be in a hurry to get to the apex, as forcing files is when procedural accidents occur. Widening coronally first and irrigating frequently will allow better access to the mid and apical third of the canal, and reduce stress on the instruments. Also, it is vital to wait until the coronal preparation has been completed before measuring the working length. Traditionally this has been measured with radiographs, but I recommend using an electronic apex locator as this offers a consistently more accurate result. Once the working lengths of the canals have been confirmed, they are scouted again with the #10K file to the CWL (canal working length), and the glide path secured to length. At this stage the shaping of the canals can then be easily completed accurately to length with minimum deviation from the natural canal anatomy.
Using the above sequence of access, scouting of canals, glide path, and preparation coronally, working length determination, and then glide path and preparation to length, will work consistently with any canal preparation system. The system I have had great success with in more challenging canals is the Protaper Next system.
The first file in the Protaper Next system, X1, has a 0.17mm tip size and a 4% taper, offering excellent flexibility and enhancing shaping of the canal very early in the process, as all the shaping is carried out with this instrument. Following this with the X2 finishing file (0.25mm tip and 6% taper), can allow completion of mechanical cleaning and shaping with just two instruments, even in difficult canals. The system has a further three finishing file sizes if required for larger canal diameters.
It must be remembered that canal shaping is not an end in itself. The shaping of the canal is carried out to allow delivery of the chemical cleaning agent to remove necrotic debris and kill bacteria. It is essential to constantly irrigate the canal from the start and throughout preparation using sodium hypochlorite in a side vented, 27 or 30 gauge endodontic syringe. This is especially important to remember when using file systems that shorten preparation time. Unless you constantly and copiously irrigate, you can prepare a beautifully tapered canal but without removing the bacteria and necrotic debris the treatment has a much lower chance of success.
Read my third top tips on ‘obturation and restoration’ in Dentistry’s December issue.
Points to remember
- Although the introduction of Niti rotary instrumentation has made endodontics easier and faster, even when using a single file system, it is important to scout the canals first with hand files
- Secure the glide path in more difficult canals – it makes the whole process easier and safer
- Prepare the coronal part of the tooth first. Don’t try and rush straight to the apex
- When preparing canals it is vital to irrigate and recapitulate with a hand file regularly to prevent blockage of the canal with dentine chips
- Never stop irrigating during preparation – even if you think you’ve irrigated enough, just do it a bit more.
For the recommended reading list, contact [email protected].
For more information email [email protected], telephone 0800 072 3313 or visit www.dentsply.co.uk.

