
Edward Li presents five practical tips to make dental photography consistent.
(Please click on images to expand view)
1. Fog free reflections
Blow air with the 3-in-1 to defog the mirror. It is my view that warming up the mirror is a waste of time, as the reality is – warm mirrors still fog up. High flow air quickly removes the moisture condensing on the mirror surface and reduces humidity in the oral environment.
Just think of your windshield in the car on a cold British morning. The high flow air is what reduces fog the fastest, not the temperature of the glass itself. Train with your nurse to position the mirrors with you and have them defog the mirrors with the 3-in-1, saving you both lots of clinical time and frustration.
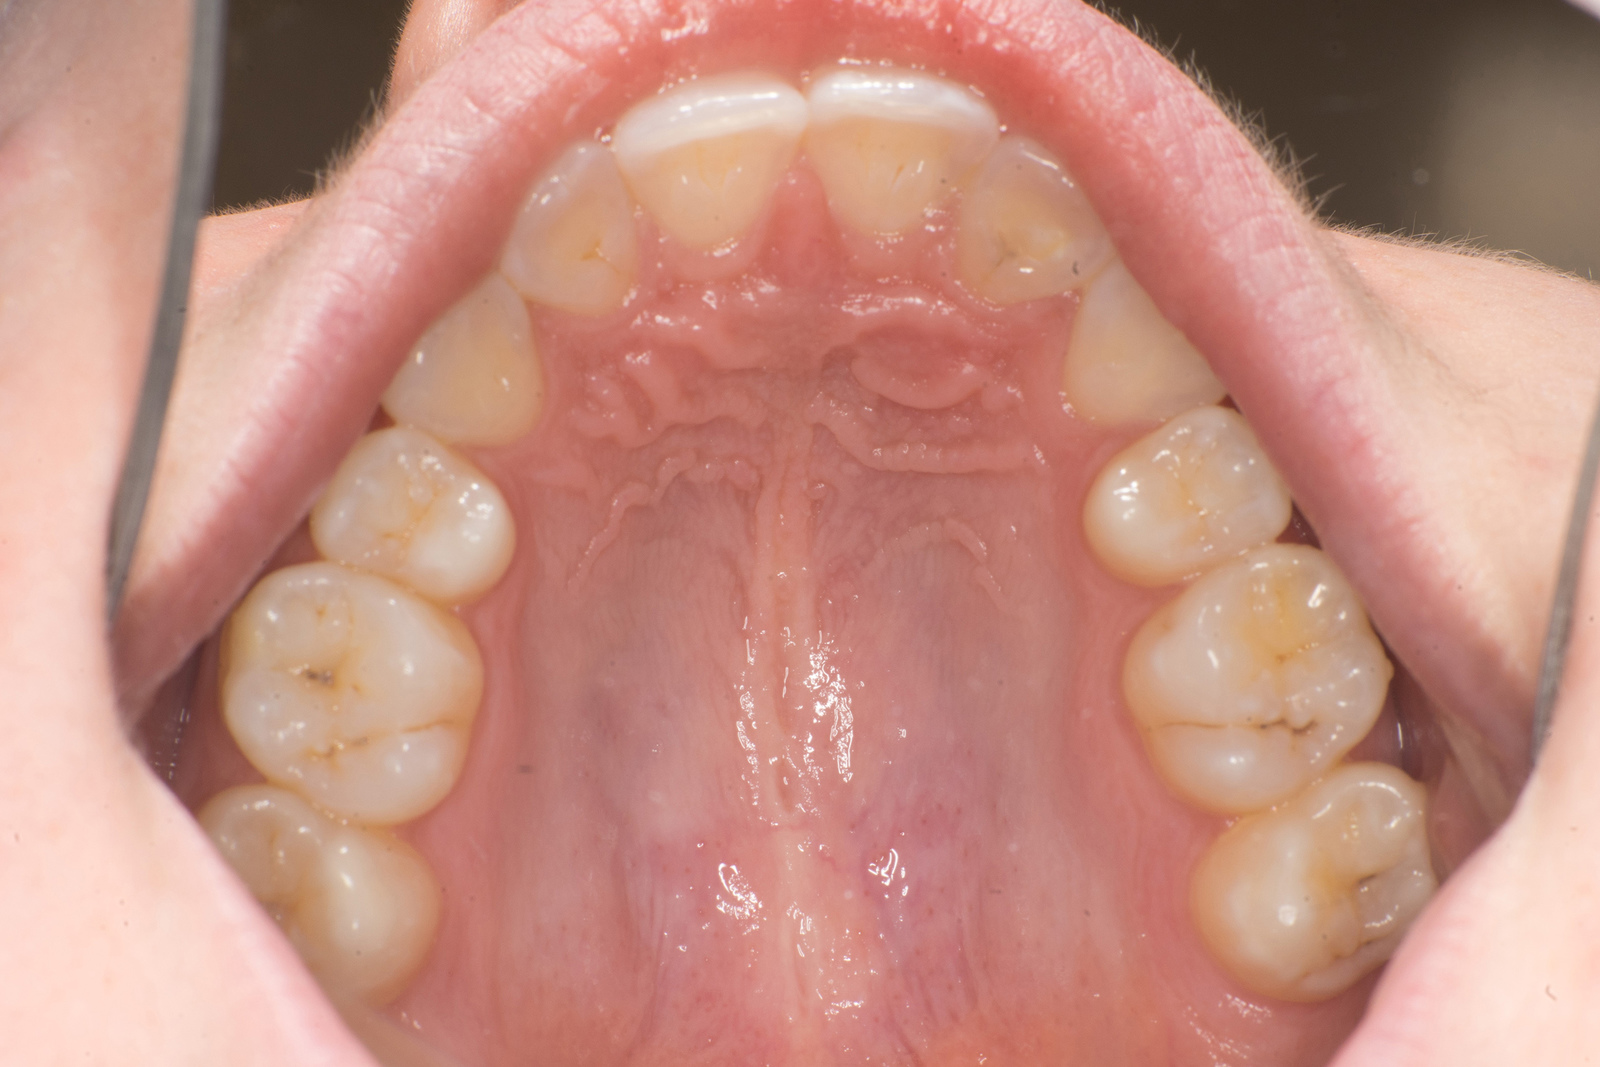
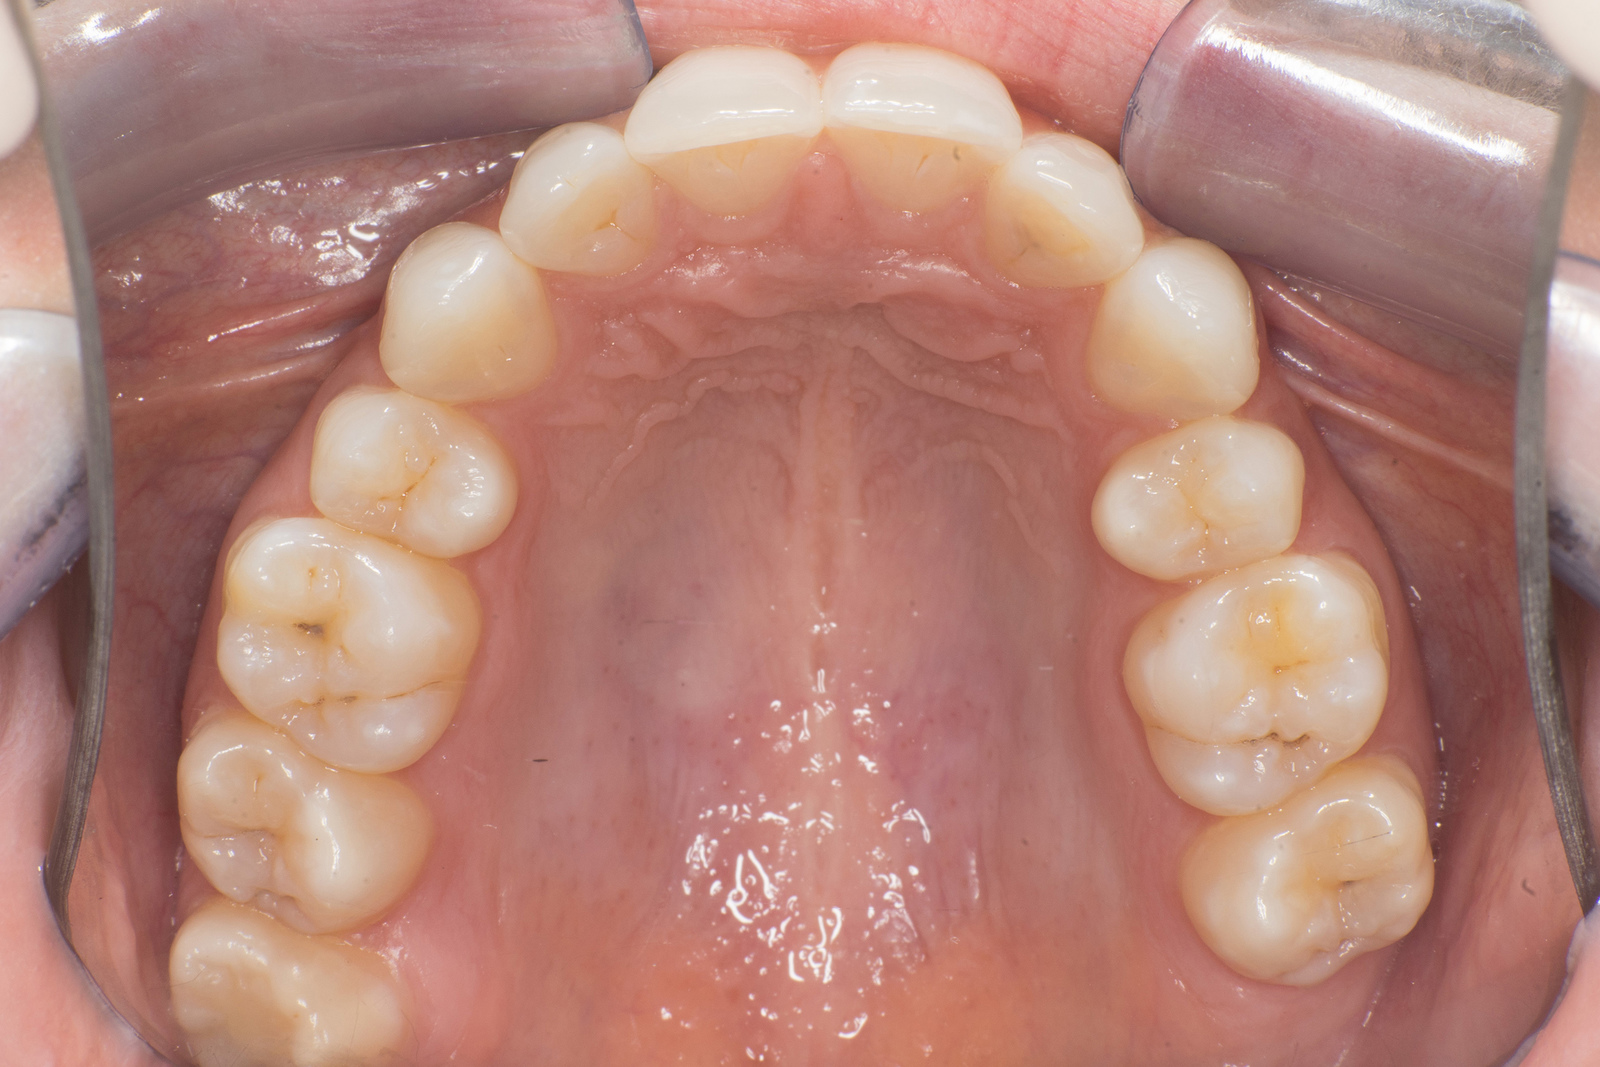
2. Positioning
Assuming the patient is in your dental chair, have them sitting up straight so we can approach from the front, or laying flat to approach the patient from above and behind. This allows you to comfortably see them straight on without straining your back or falling on top of them.
Occlusal views – lean the mirror against the opposite arch being captured so the mirror can easily approach the camera at a 45° angle.
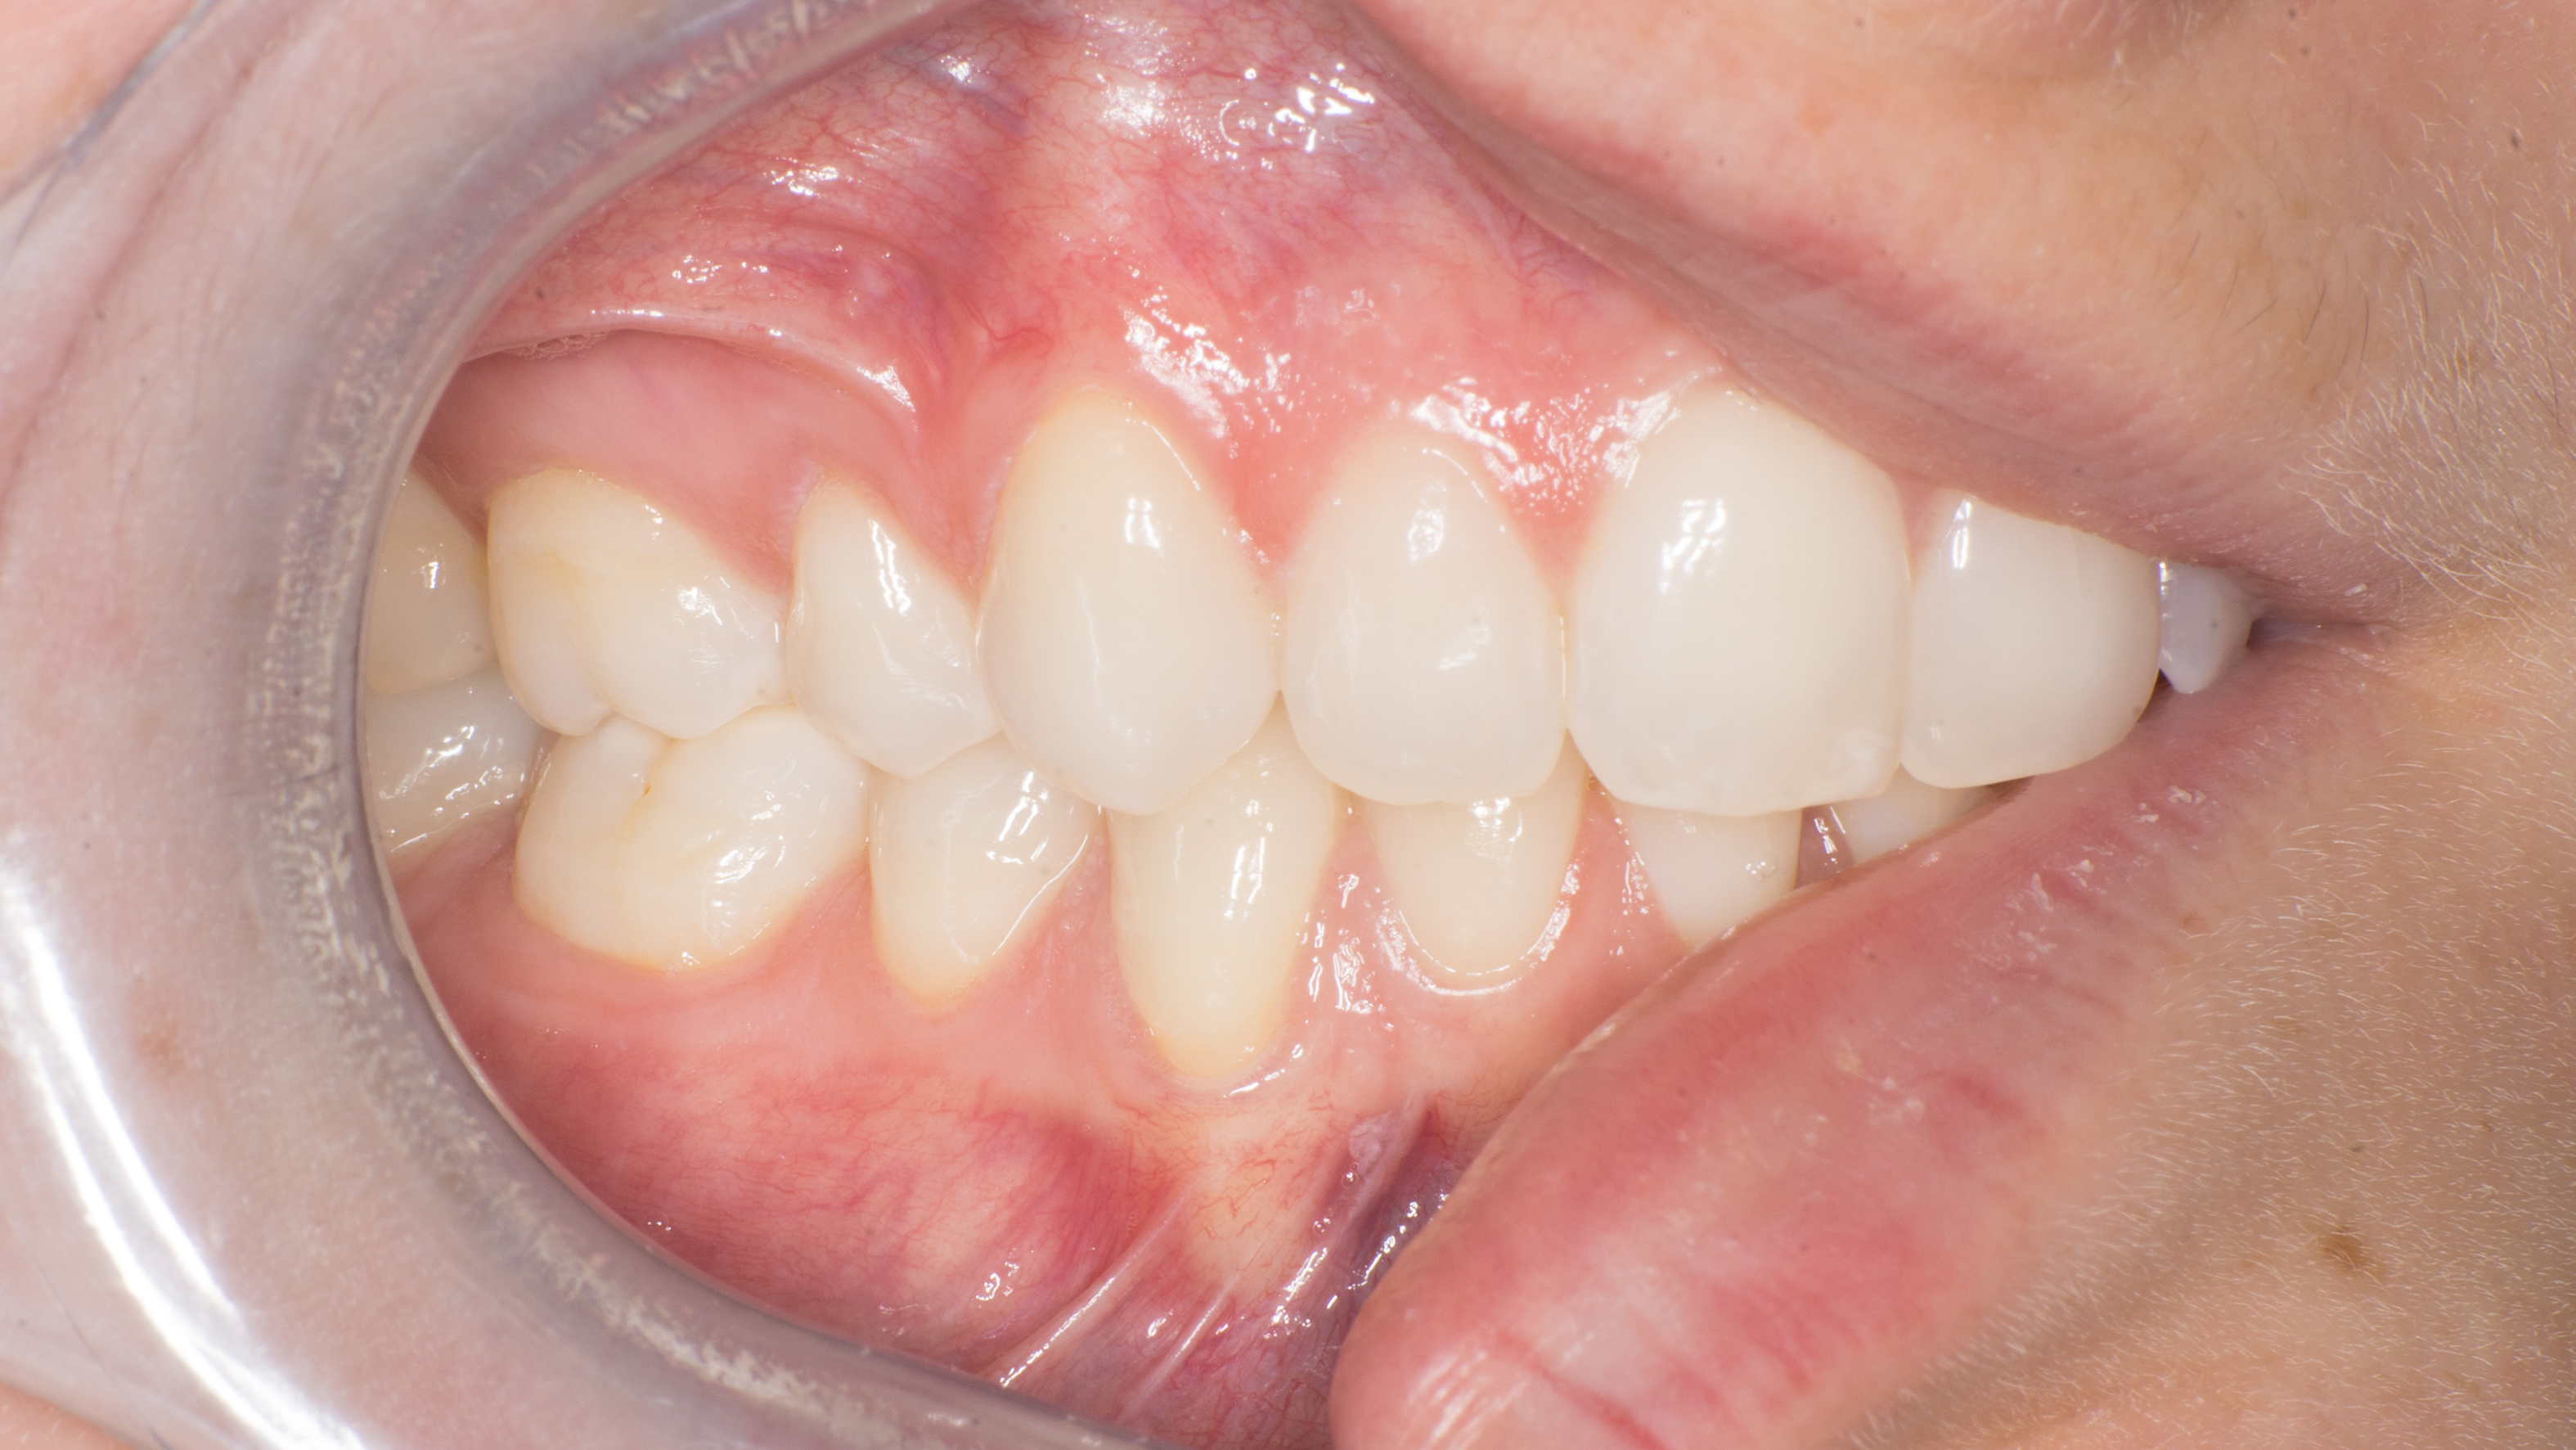
Retractors – when shooting lateral views, keep the retractor in the opposite side as it keeps the lips away from the incisors. When retracting for any view, tip the handle inwards to lift the soft tissues away from the teeth too. These tips can be modified for occlusals, where lips often encroach onto incisal edges, by simply rotating the retractors towards the arch you are capturing, then lifting the lips off the anterior teeth.
3. Shooting on a budget
There are numerous ways to produce excellent photos on a modest budget. I can’t stress enough the importance of documenting your work, good or bad. It is a great way to critique/praise your work with fresh eyes.
One large sum of the budget will be for the eye of the camera. Dedicated macro lenses are undoubtedly the gold standard due to their ability to get very close to a subject and consistently produce great images. However, there are many routes towards a much more affordable way to get started in dental photography.
- New macro lens £400-900
- Second-hand macro lenses £200-500
Just as good as new from many sellers
- Vintage/legacy macro lenses £50-150
No autofocus but dental photography is best manual focusing
- Extension tubes £20-70 (to use in conjunction with an existing kit lens)
Turn the lens that came with your camera into a decent macro lens, whilst being able to keep its autofocus capabilities.
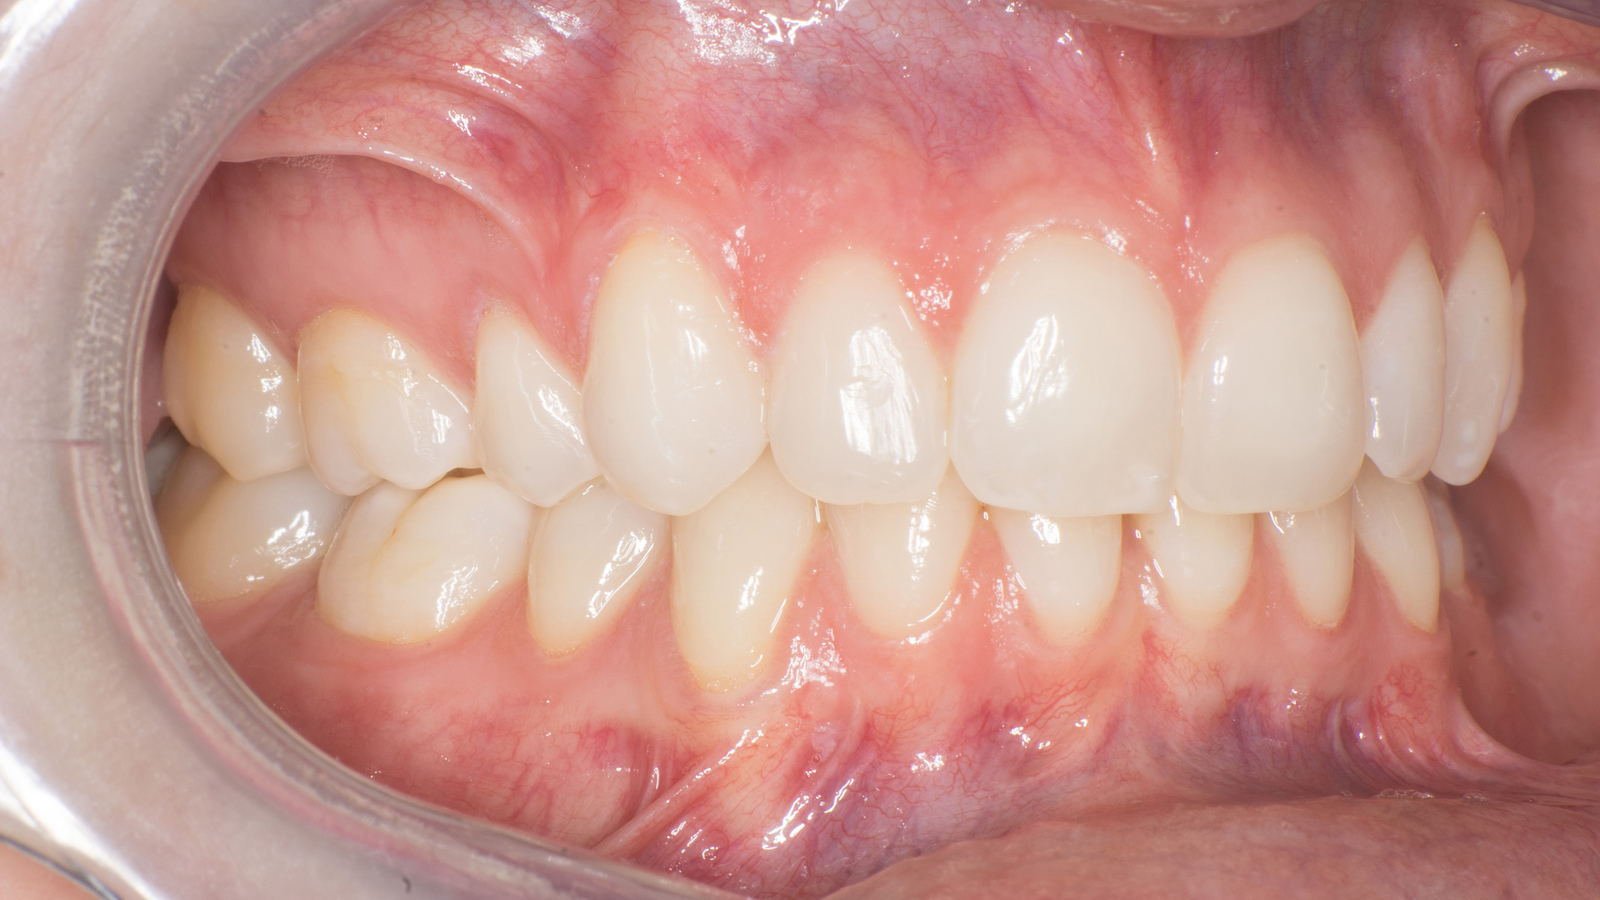
4. The perfect finish
When capturing postoperative anterior photos, ask the patient to lick their teeth or run a damp cotton wool roll over the visible surfaces. This gives any teeth or restoration a high gloss and produces a good first impression. Close-ups then taken dry should be used to critique and evaluate niche details of the work that had been provided.
5. What you look for
For our usual baseline photographs, the table below is a guide for what settings to use and more importantly, how to frame the shot to get consistently presentable photos.
Recommended settings – manual mode (‘M’ on the top dial), ISO200, white balance (WB) on ‘flash’, shutter speed 1/100-160, ring flash in manual mode and on full power ‘1/1’.

Dr Edward Li graduated from King’s College London. Recent achievements include the Academy of Operative Dentistry Award 2015, first place in Dentsply’s Ceram.x 2015 national competition and the Maurice Wohl General Dental Practice Prize 2015. For further advice, contact Edward at [email protected].

