Patric Freudenthal discusses how advances in zirconium dioxide technology are reshaping prosthetic production and the choices facing modern dental labs.
In recent years, the production of prosthetics using zirconium dioxide has become significantly more accessible – marking a notable shift from the difficulties once associated with the process. Technological advancements have transformed the landscape, introducing a broad spectrum of machinery, materials and techniques that support both fully customised and large-scale industrial manufacturing.
Today, the challenge lies not in the limitations of technology, but in navigating the vast array of available options. The increasingly globalised dental market has heightened the need to strike a balance between cost and quality – an ongoing concern for both dental laboratories and manufacturers of materials and equipment.
So, how do we make the right choices? Which machines are truly essential for a modern dental lab? What type of zirconia should be used, and which materials and techniques are best suited for effective characterisation?
Key factors
Naturally, the specific needs and decisions will vary depending on the dental laboratory itself. Labs can range from small operations with just one or two technicians to large-scale enterprises employing thousands and operating their own milling centres. Each setup comes with its own set of priorities and possibilities.
Is the lab dedicated to achieving the highest level of aesthetic excellence, or does it focus more on producing standardised, efficient solutions? These strategic choices shape everything from equipment investments to material selection.
And, of course, a key factor that cannot be overlooked is market dynamics – what price point will your market realistically support?
In the early days of setting up my previous dental lab, my primary focus was on aesthetics and quality. For nearly a decade, this approach served me well – until I was faced with a harsh reality: I needed to start generating a sustainable profit. Around that same time, the industry experienced a major shift with the rise of in-house production technologies.
This turning point forced me to conduct a thorough profitability analysis to manage existing debts and ensure future revenue. I became deeply invested in understanding the true cost of materials, operational expenses, and the financial implications of ongoing investments – especially given the rapid pace of innovation in our field.
Production analysis
Two key questions guided my analysis: what is the cost per finished workpiece? How much time does it take to produce each one?
A simple way to calculate this is by using a basic cost breakdown chart, like the one below. Input your annual expenses and divide them by the number of units produced per year to determine the average cost per production stage.
| Moment | Time/quantity | Cost | Sum |
| Design | |||
| Milling | |||
| Shaping/cleaning | |||
| Zr-blanks | |||
| Sintering | |||
| Colouring | |||
| Financial costs | |||
| Service | |||
| Cooling time | |||
| Remakes | |||
| Operation (electricity, rent, salary etc) | |||
| Number of elements per year |
| Moment | Time/quantity | Cost | Sum |
| Sum |
Inventory management also plays a significant role. The scale of your repository – whether small or extensive – can greatly affect your overhead.
In my experience, small dental labs can achieve better aesthetics and cost-efficiency by milling white zirconia and individually coloring each crown, creating a more sustainable and streamlined workflow. Why? Because not every workpiece requires the same shade, and with 16 Vita dentine shades available, flexibility is key.
As the lab expands and daily production reaches approximately 10-20 elements of the same colour, transitioning to multilayered blanks could offer greater efficiency and effectiveness. Aesthetic quality can still be preserved by simply dyeing the multilayered blanks using a compact colouring kit. While this approach may raise inventory costs, the time required for each production stage is reduced.
The following sections outline the dyeing process for both types of zirconia.
Dyeing multilayered zirconia
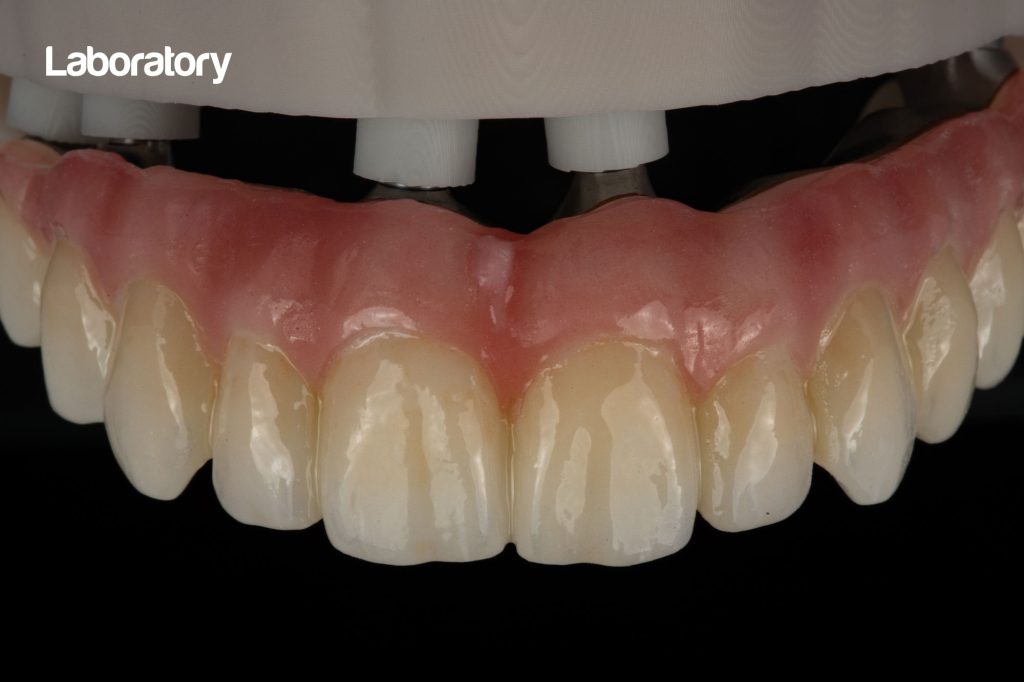
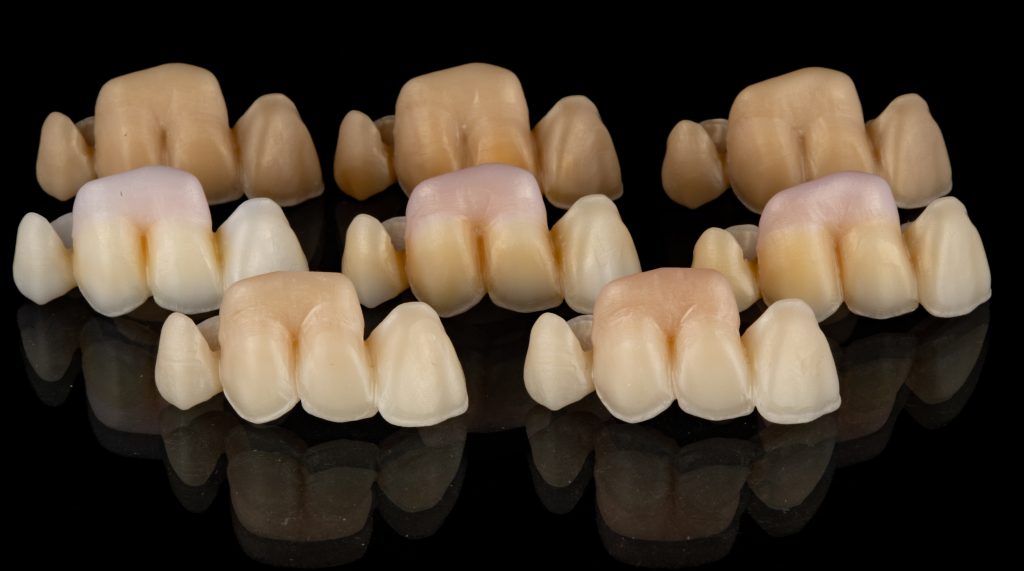
In this process, a small selection of colours is typically required: grey and blue for the enamel, orange and yellow for cervical areas, and pink or red for the gingiva. Depending on the satisfaction with the base colour of the multilayered zirconia, some dentine colour may be used for adjustments. A slight colouring of the multilayered zirconia with small amounts of blue, grey, and pink can be completed within a minute or two, providing an excellent foundation for the microlayering technique (Figures 1 and 2a-b).
Subsequently, additional time and effort are invested in further characterisation through painting and micro-layering (Figures 2c and 2d).
 Figure 1: Multilayered zirconia with subtle effects versus white zirconia, entirely painted. In both cases, Initial Zirconia Coloring Liquid was used.


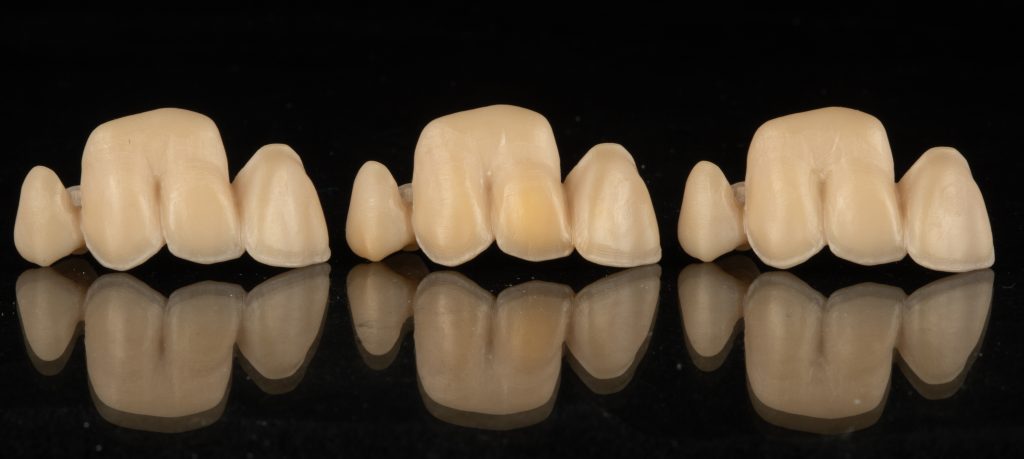
In contrast, the bridge on the right was milled from white zirconia, with all colour effects achieved through layered painting. While this method takes more time compared to using a multilayer disk – about five to 10 minutes, depending on the complexity of the final look – the aesthetic outcome is distinct and compelling. It also simplifies the workflow, requiring only two main steps: painting and micro-layering.
The overall time difference between these two techniques is minimal. Both bridges require the same amount of time for milling, shaping and cleaning. The key distinction lies in where you choose to invest your time – early in the process with a multilayer disk or later with more detailed painting. This choice ultimately depends on the desired aesthetic result.
Dyeing white zirconia
To achieve a specific colour, you can either apply multiple layers of paint or dip the product for varying durations. These two techniques can also be combined for more nuanced results. The speed at which this process can be completed depends entirely on the desired outcome.
Painting
If the product should be nearly finished and only lightly glazed afterwards, the process demands more time and a higher level of skill from the person performing the work. On the other hand, if the goal is simply to establish a soft base color tone, the process is easily standardised for efficiency (Figures 3a to 3e).
 Figures 3a to 3e: A white zirconia disk had been given a soft uniform colour tone with a brush with Initial Zirconia Liquid before the characterisation with Initial IQ ONE SQIN


However, it’s important to note that the additional painting or glazing that will be needed later may take longer.
Dipping
If they will be additional layering on the crown – on the entire surface or just buccally – applying a soft base color tone is also an option. Therefore, the dipping (or immersion) technique is commonly used (Figure 4).
As with other approaches, the objects must first be ground, cleaned and properly prepared for staining. It’s also important to vary the saturation in the incisal area to avoid a uniform colour throughout.
This ensures a natural gradient from the cervical to the incisal region, if required. This technique is particularly well suited for large-scale production where consistent colour quality is essential.
Conclusion
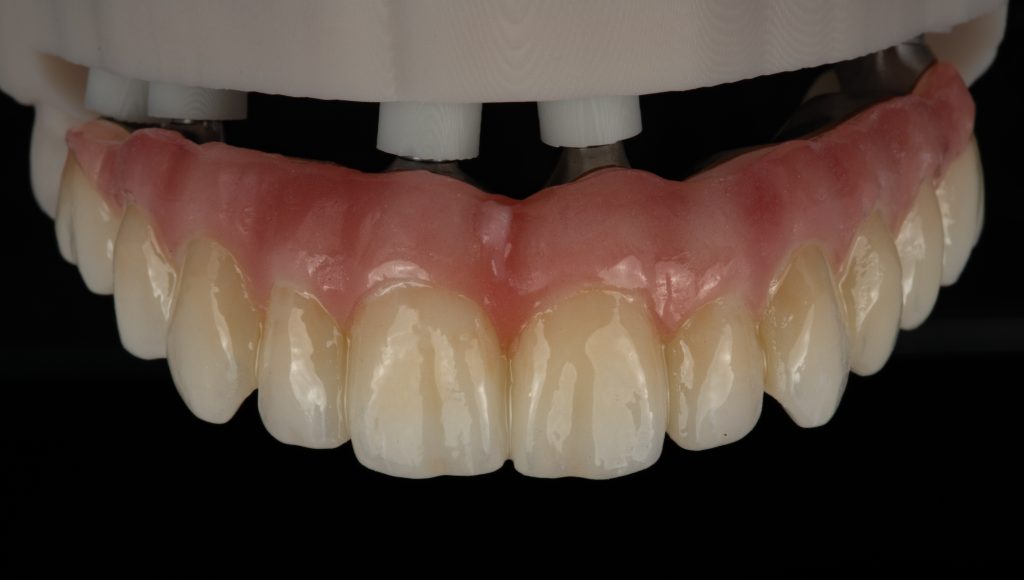
At our dental laboratory, which employs a team of 50 professionals, we have established a streamlined and efficient workflow for zirconiabased restorations. With a daily output between 100-150 units a day, our production demands both speed and consistency without compromising on aesthetic quality.
Most of our restorations are milled from multilayer zirconia, followed by a straightforward individual dyeing process. This approach has proven to be the most time-efficient while still delivering high-quality results (Figure 5).
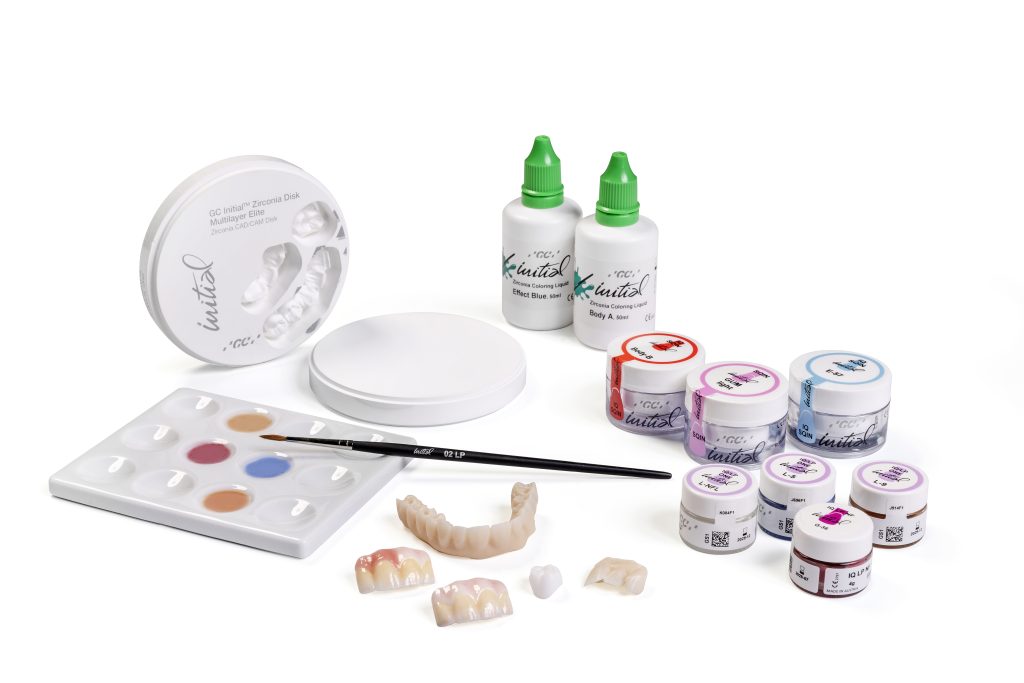
In select cases, where specific shades are required, a full-surface staining is carried out on white zirconia. This method necessitates a comprehensive system of effect dyes tailored for incisal and cervical regions, as well as gingival areas. Additionally, access to a basic palette of dentine shades is essential for fine-tuning and achieving optimal colour matching.
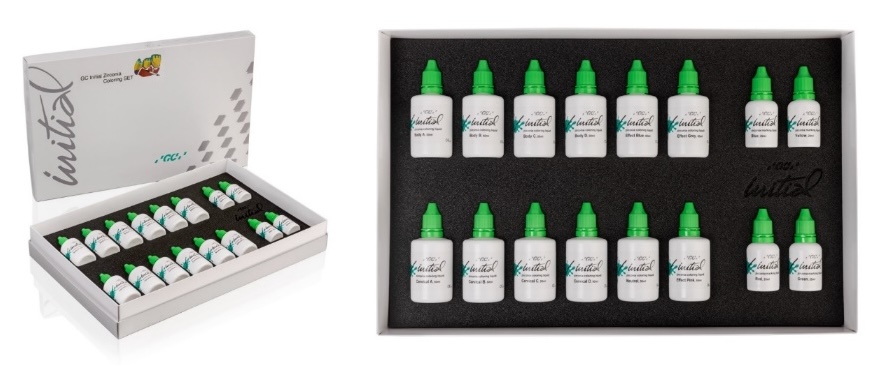
Fortunately, advanced dye systems are now available on the market (Figure 6). These systems typically include dentine shades categorised into A, B, C and D groups, facilitating intuitive and precise application. Incisal effects are supported by blue and grey tones, while pink hues are used for gingival areas – providing all the necessary components for effective multilayer zirconia staining.
Given the scale of our production, efficiency and safety are critical. To optimise your own production process, consider the following steps:
- Assess your production volume
- Calculate the cost per unit
- Select appropriate zirconia blanks and colouring liquids based on your workflow and aesthetic requirements.
In this way, unnecessary production delays are avoided, product quality is maintained, and profit margins are preserved.
For more information, visit www.gc.dental/europe/en.
This article is sponsored by GC.

